Metadata Editor
The Metadata Editor allows you to explore study, sample and data information and metadata and validate it against templates, correcting/curating it if needed.
Getting to the Metadata Editor
To open an existing experiment with Metadata Editor, click on the study name in the search results in the Study Browser application.
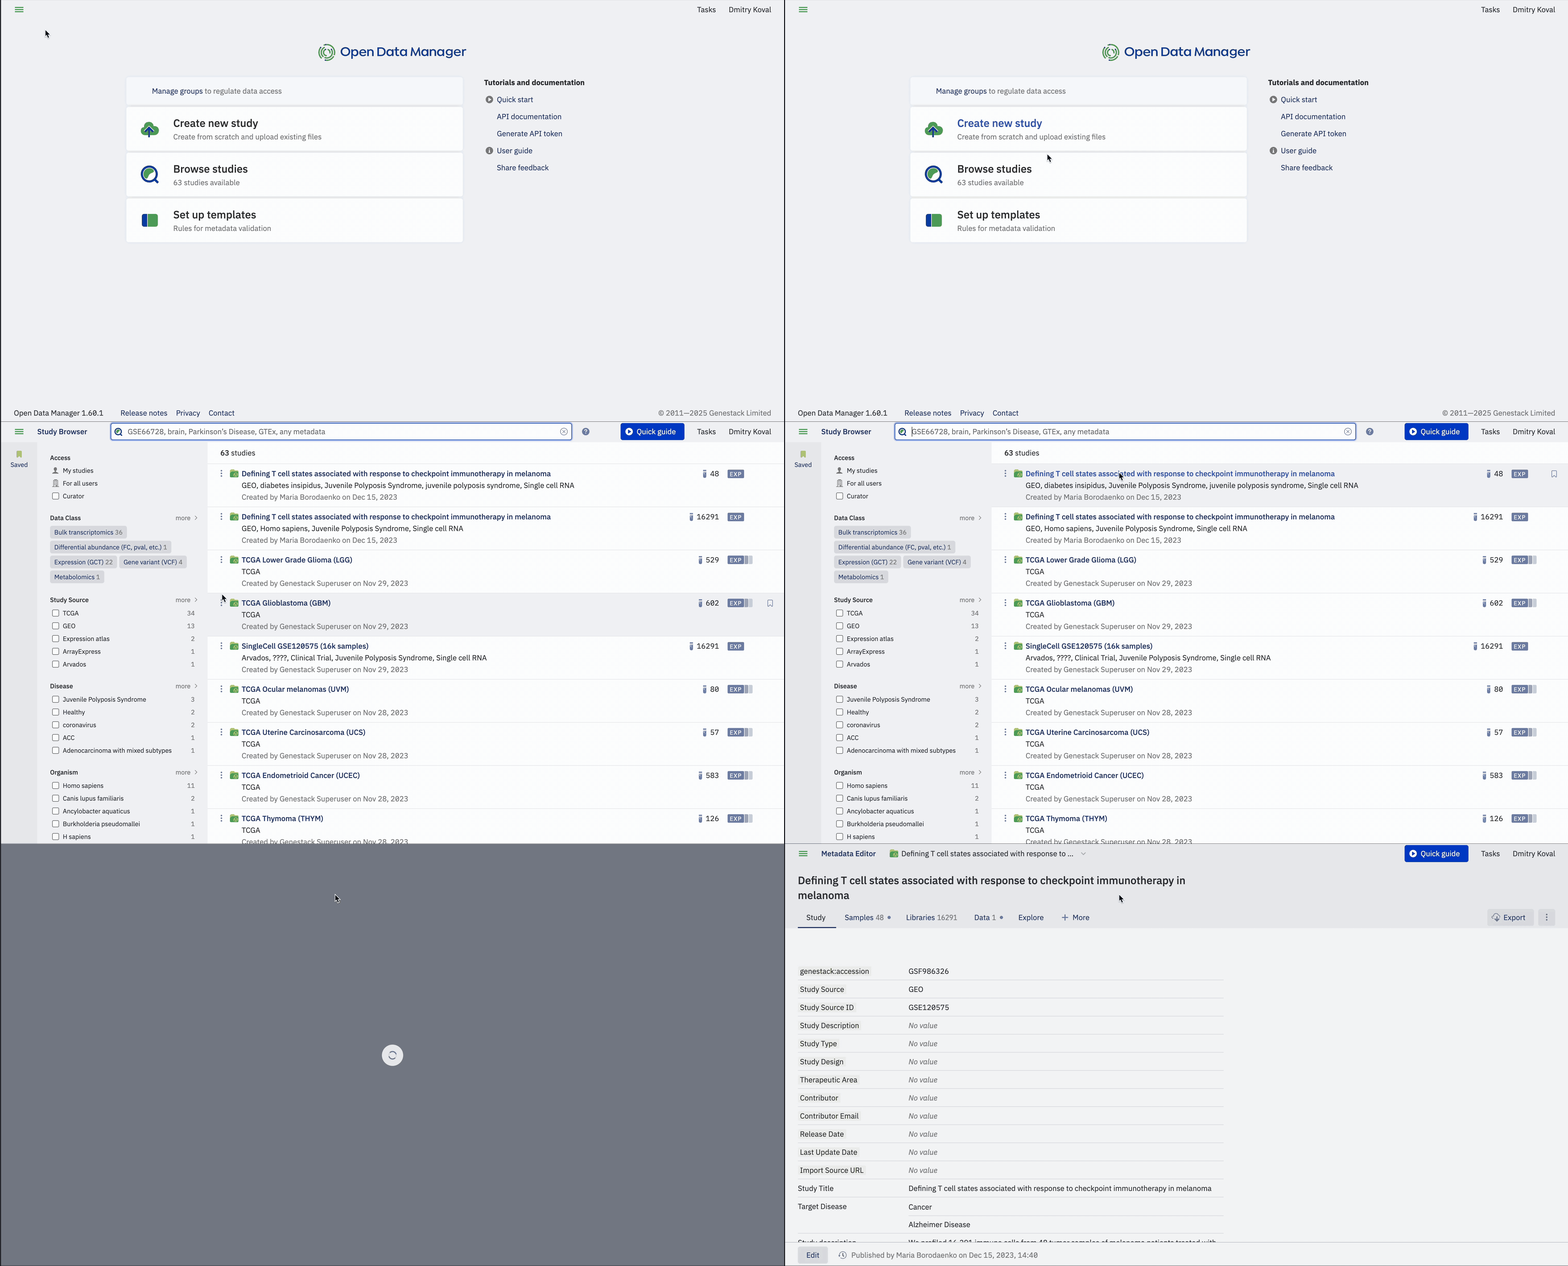
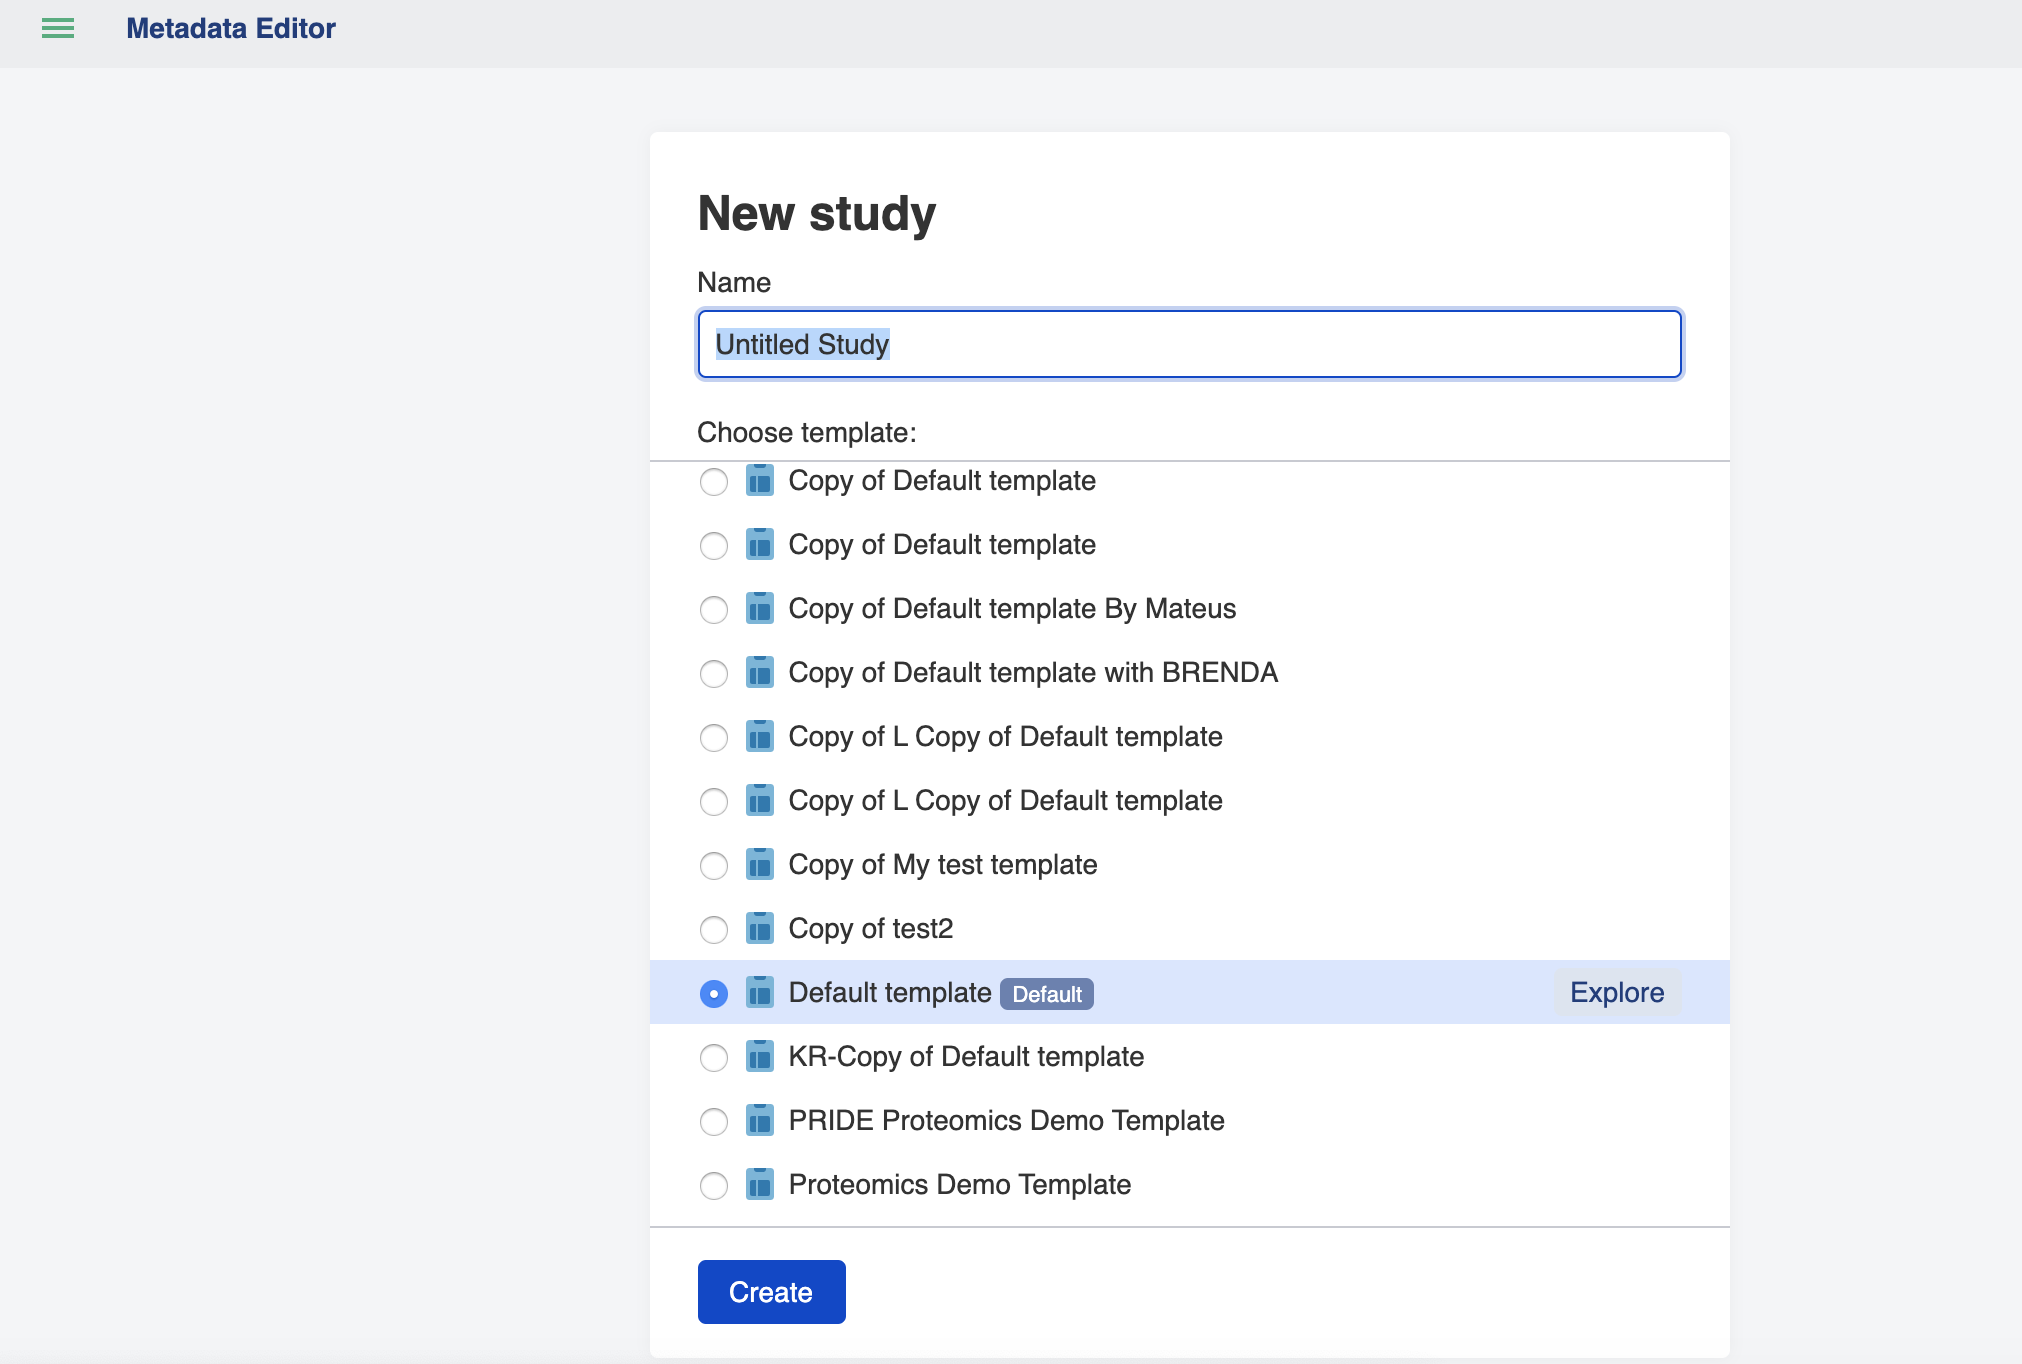
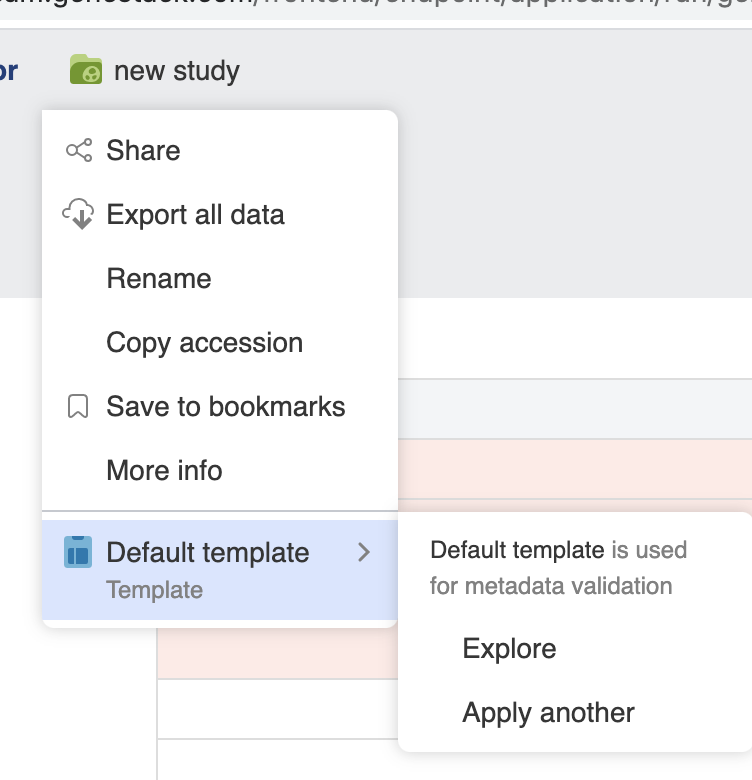
You can also get to the Metadata Editor when you click Create a new study button on the Dashboard. The Metadata Editor app will open and it suggests you specify a metadata template (by default, the Default template is applied). You can explore each template by hovering over it’s name and clicking Explore link. By default, new study contains two tabs, namely Study and Sample providing metadata for Study and Samples, respectively.
Note that users not included in the “Curator” group do not have permissions to make changes (update metadata, change templates etc.) to any experiments.
Exploring the Metadata Editor
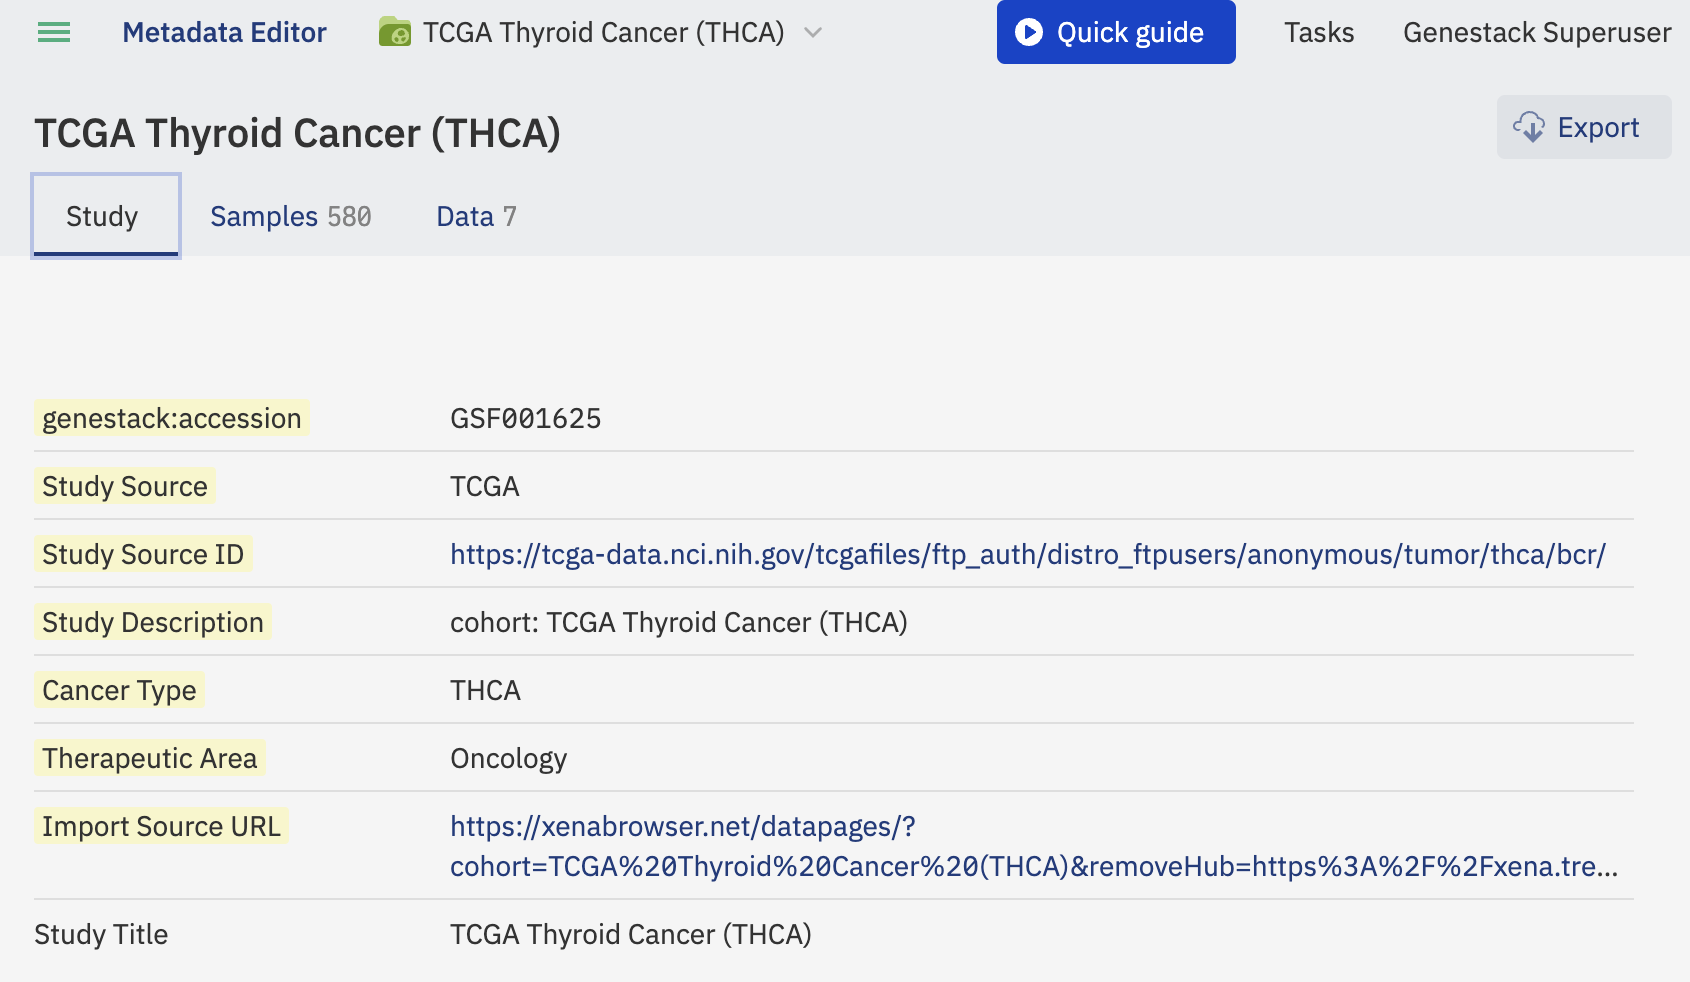
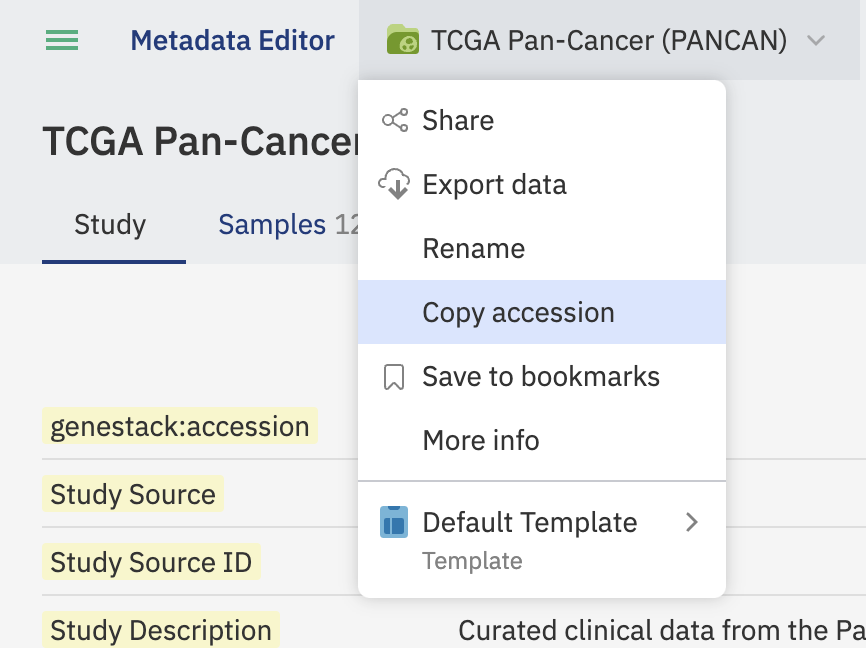
When you click on the study name, a drop-down menu will appear allowing you to:
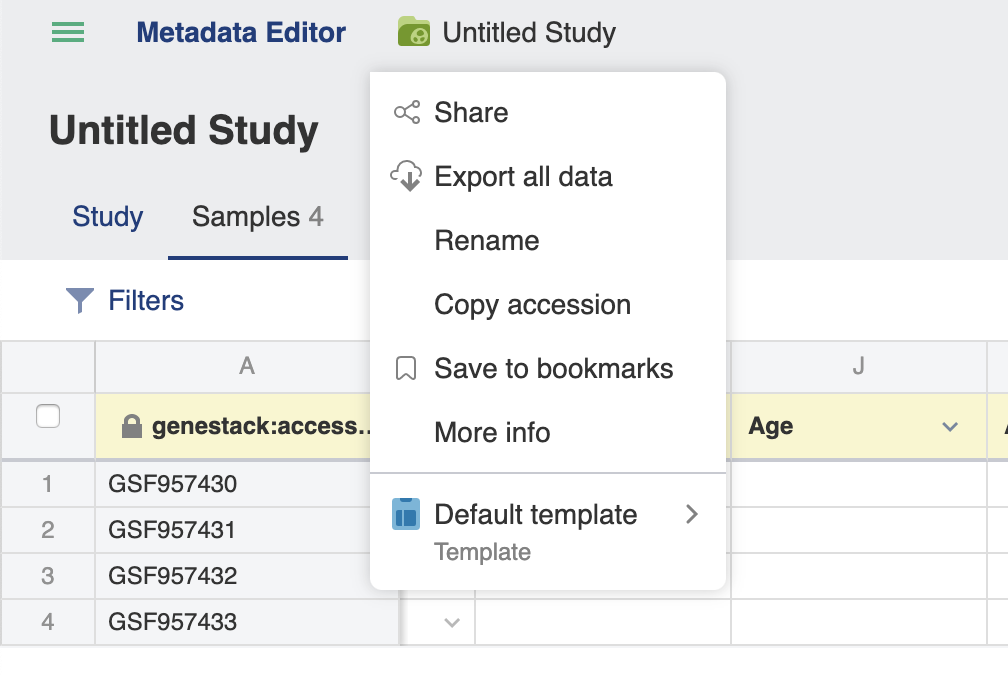
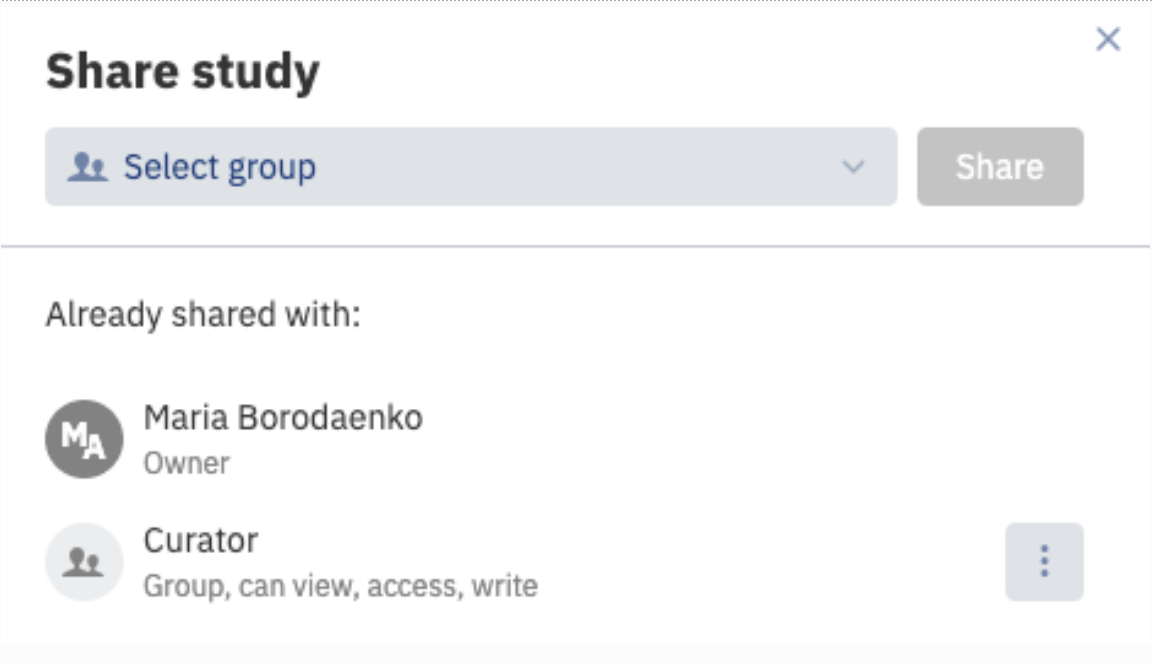
- Share data with your colleagues
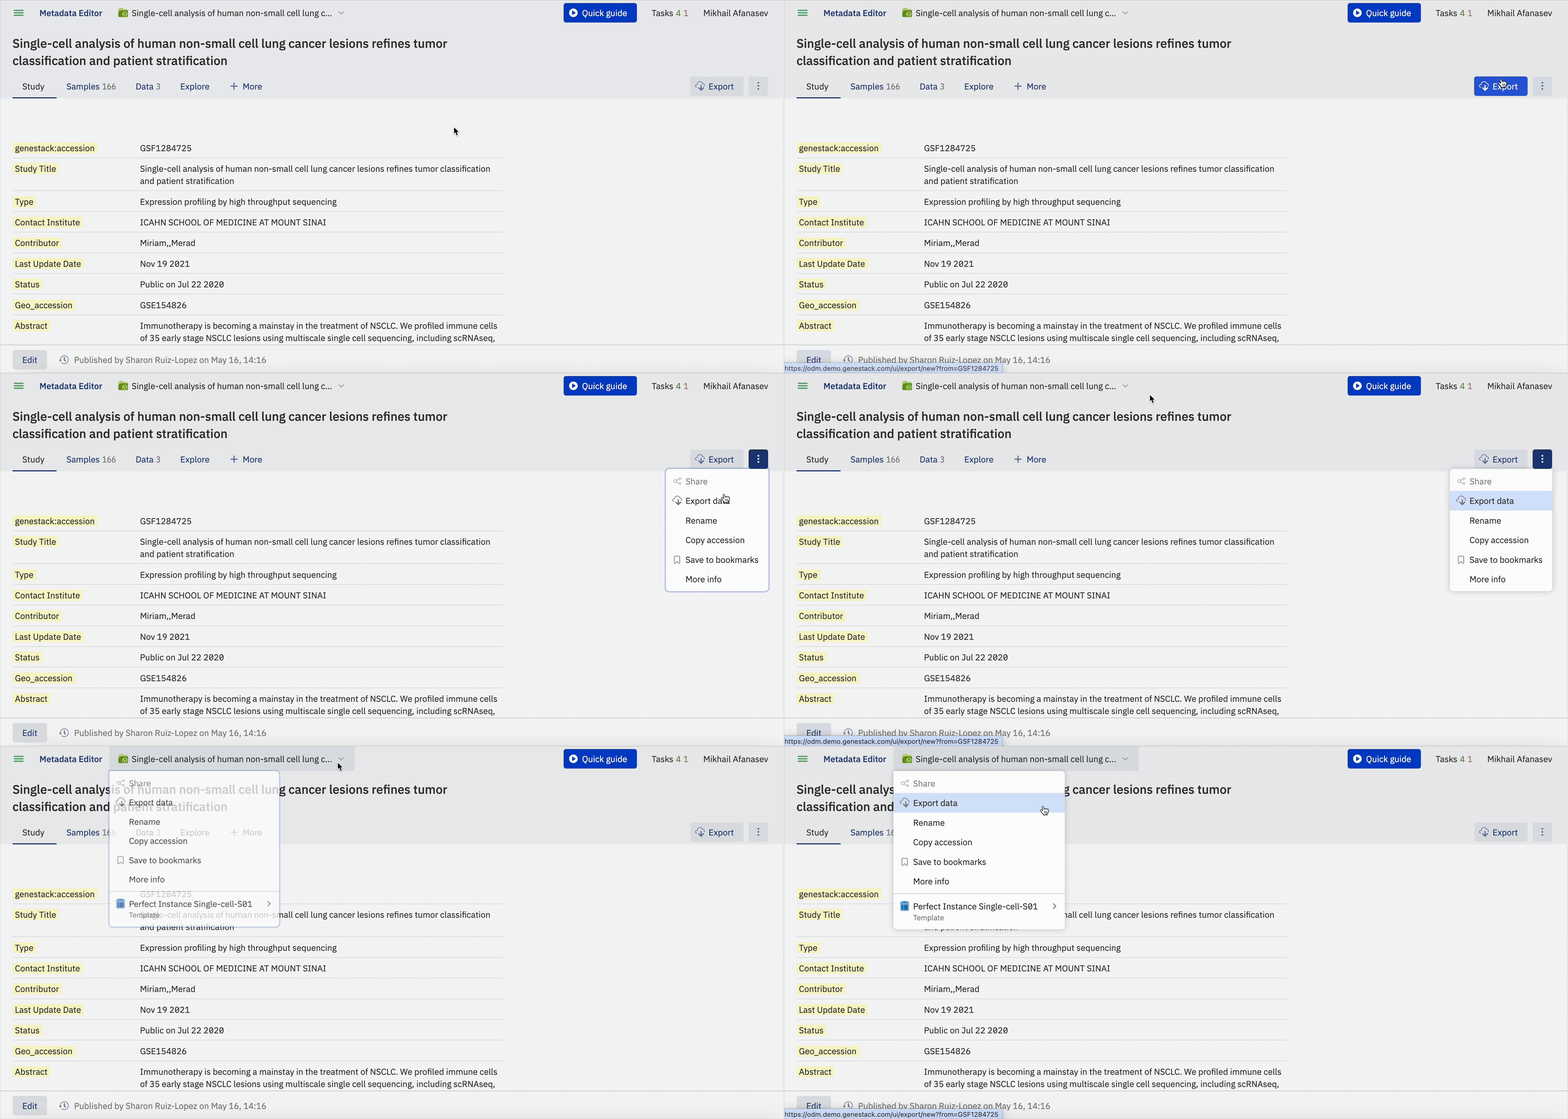
- Export data by creating a link that can be used to download data and can be shared with your colleagues. You can also click the Export button near the top right of any Metadata editor tab.
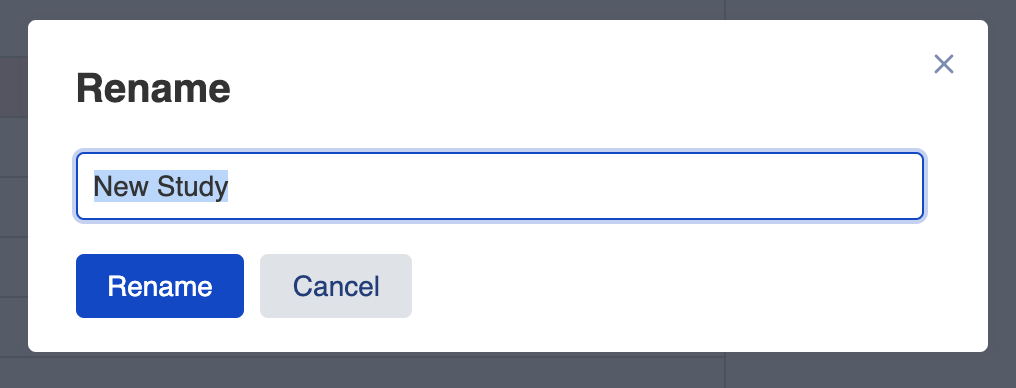
- Rename study
- Copy accession of the study
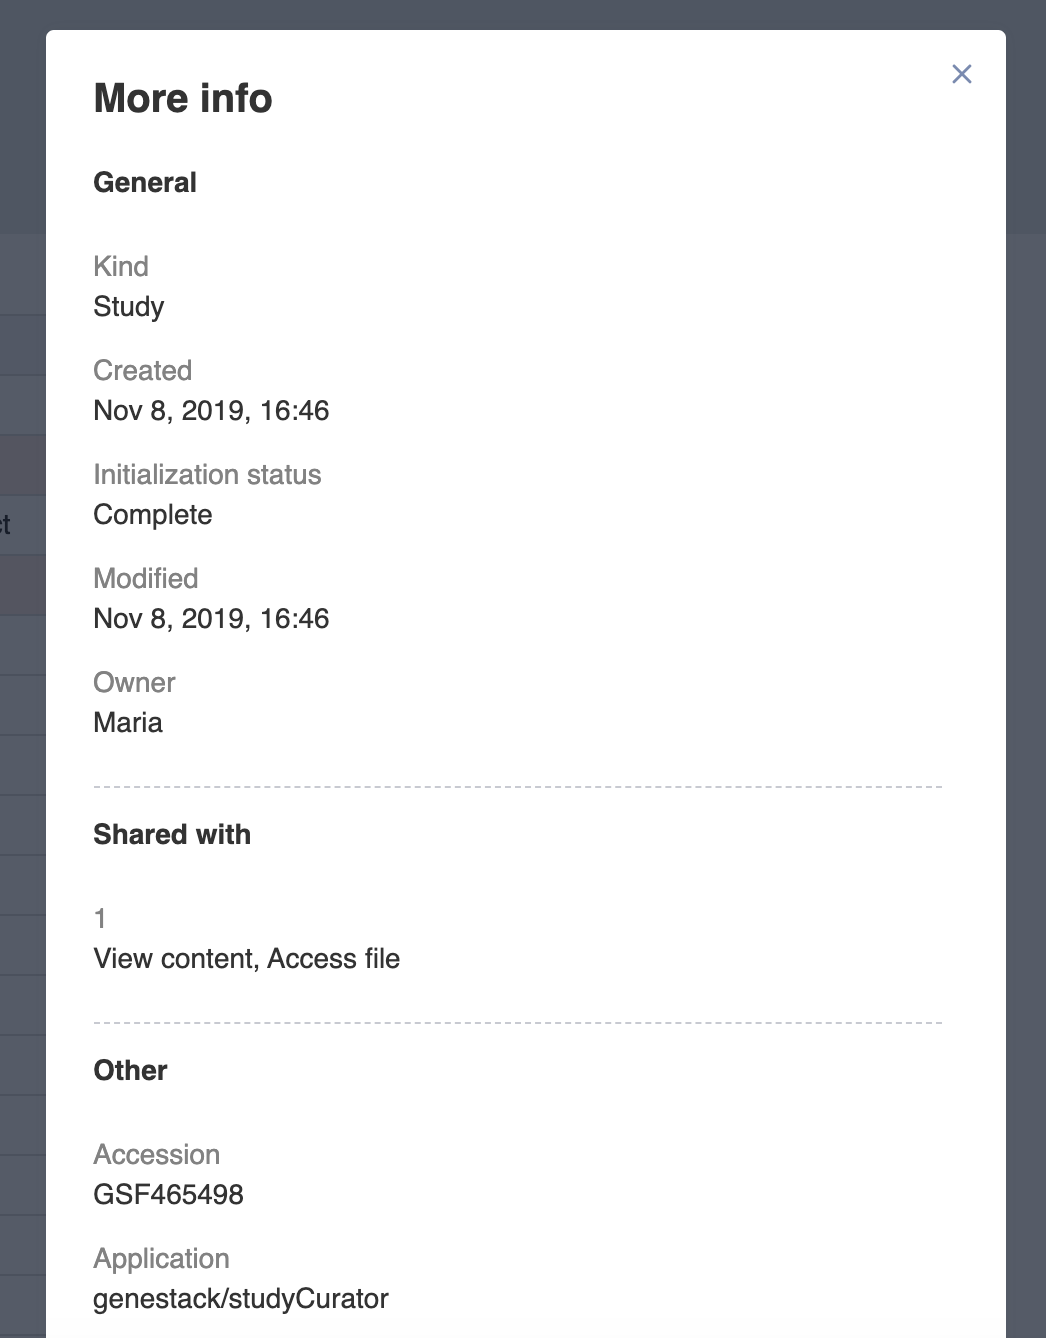
- Get more information about the study. For example, you can learn when the study is created and modified, who is the owner and which groups it is shared with.
- Explore and change metadata template by clicking on “Explore” and “Apply another…” option in the drop-down menu.
There are several tabs that can be shown on the Metadata Editor page, namely Study, Samples, Expression (optional), Variants (optional) which represent metadata describing experiment, samples and processed files, such as transcriptomics data (GCT) and genomics data (VCF).
Study tab
Study tab provides general information about the study, namely experiment description, contributors and their contact details and so on.
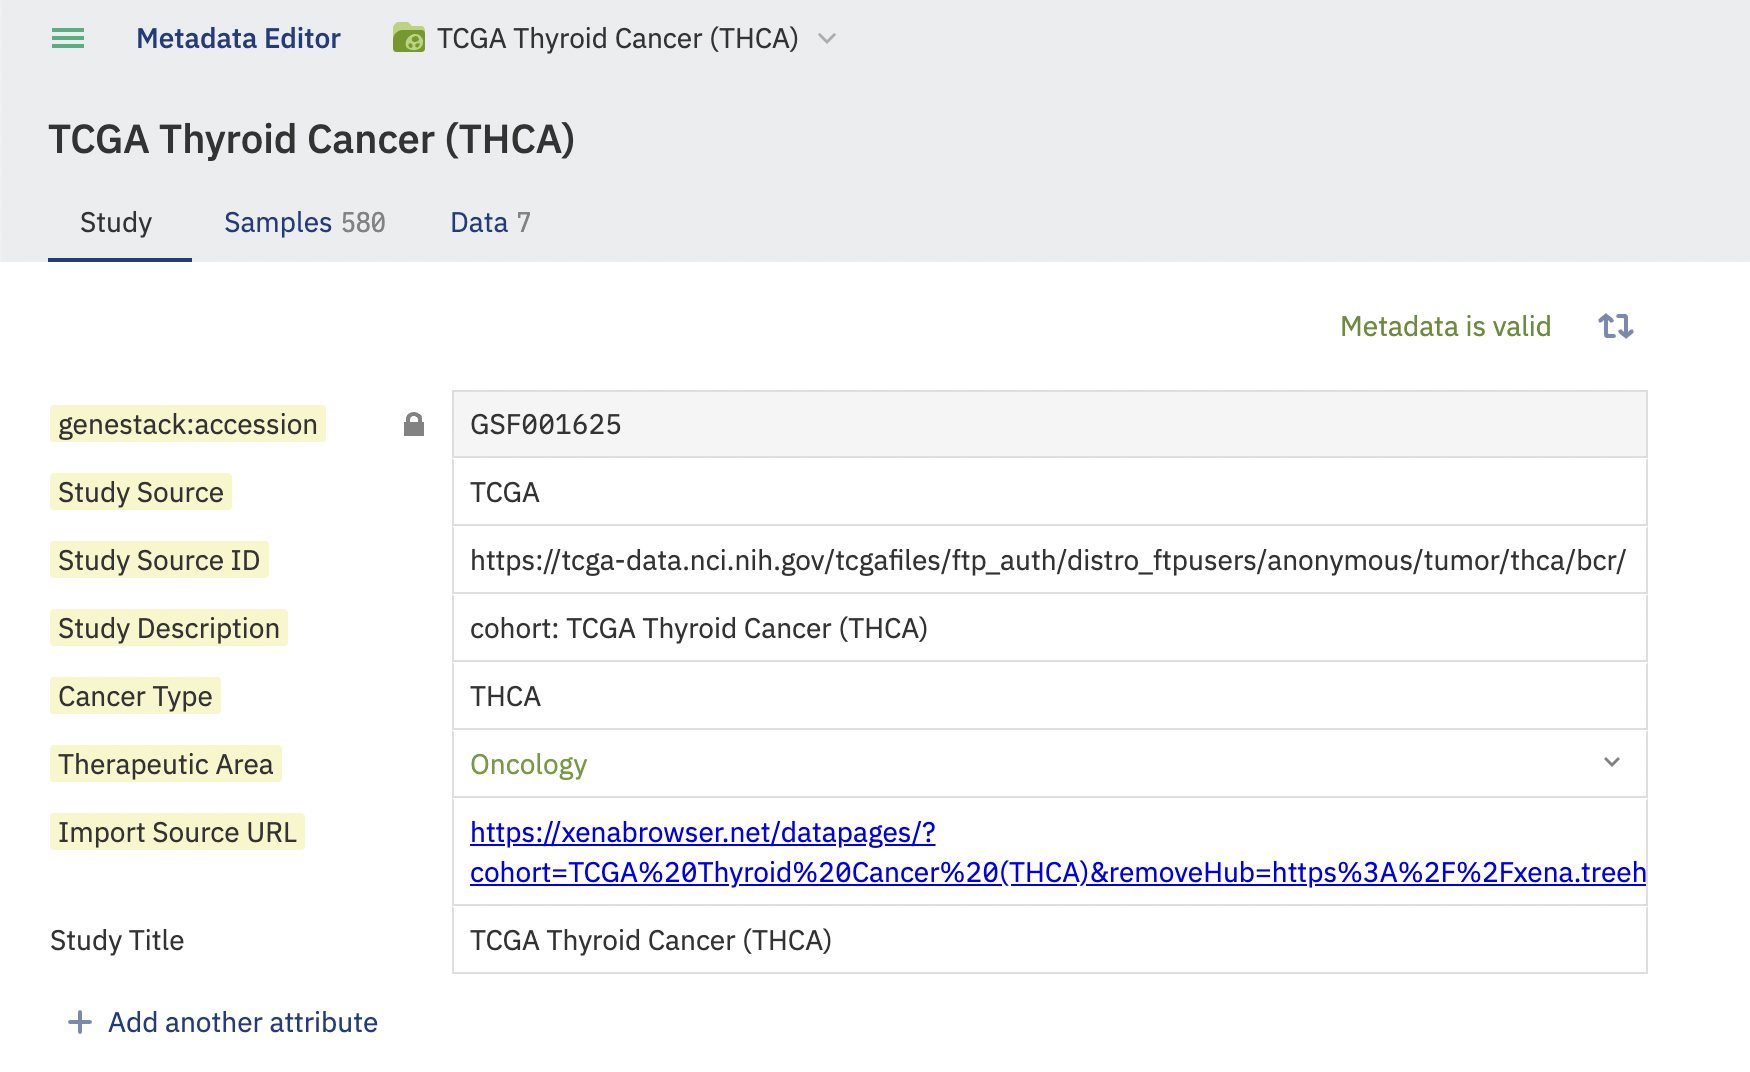
To rename the study, click on the study title link at the top of the page and select “Rename”. Type in the new name and click the blue “Rename” button.
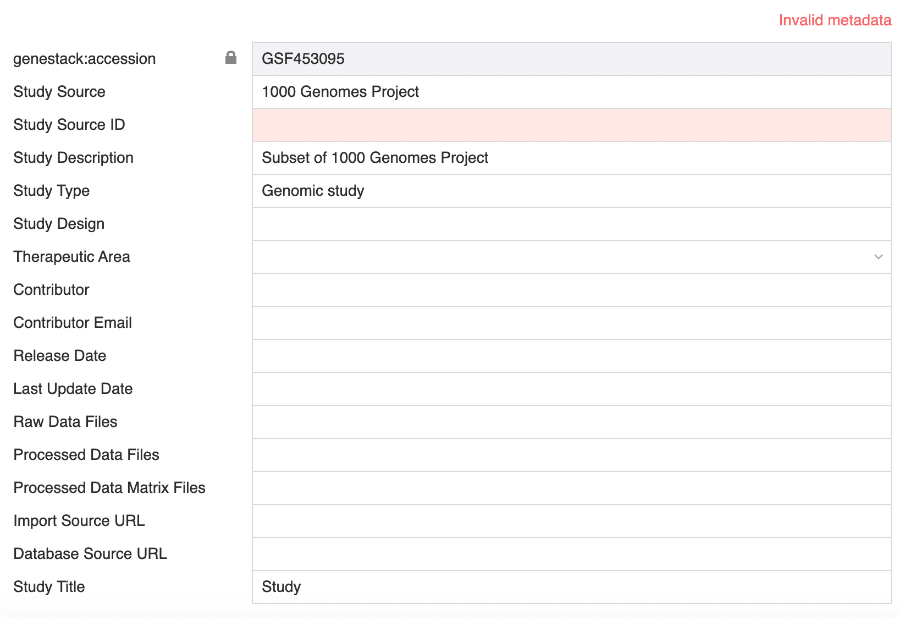
Columns containing invalid metadata are highlighted in red and Invalid metadata flag is specified.
Study Ownership Transfer via GUI
1. Who Can Transfer Ownership
Ownership transfer can be initiated under the following rules:
| Initiator | Conditions | Allowed? | Notes |
|---|---|---|---|
| Current Study Owner | Always | Yes | Owner can transfer regardless of other permissions. |
| User with Manage organisation and Access all data | Study is not shared with user | Yes | Designed for super‑admin use cases. |
| User with Manage organisation (with access to the Study) | Study is shared with user | Yes | Covers org‑level admins who can see the Study. |
| Any other user | — | No | Not permitted. |
Additional rules:
- Target must be another active user (cannot transfer to deactivated accounts).
- Transfers are one‑Study‑at‑a‑time in this release (no bulk multi‑Study transfer UI).
2. Transfer Workflow (UI)
- Navigate to the Study menu.
- Hover on Owner option in the Study menu.
- Select Transfer ownership (visible if you meet transfer criteria above).
- Choose the new owner from the active‑user list (searchable dropdown).
- Review confirmation dialog showing:
- Current owner
- New owner
- Access impact summary (new owner gains full access; previous owner loses unless shared)
- Cascade notice: applies to all Study objects & versions.
- Confirm to execute transfer.
- Owner field updates immediately.
3. Access Changes After Transfer
- New owner receives full access to the Study and all related objects (all versions).
- Previous owner loses access unless the Study is explicitly shared back to them.
4. Ownership Transfer History in Metadata Versioning
Each transfer generates a Changing Ownership historical entry, similar to entries in Study’s metadata Version History:
Captured: Previous Owner • New Owner • Initiating User • Date & Time.
Display Examples:
- Ownership transferred — From
User AtoUser BbyUser Con 2025‑07‑18 14:32 UTC. - Ownership transferred —
User Atransferred ownership toUser Bon 2025‑07‑18 14:32 UTC. (transfer by current owner)
Ownership Version History entries are informational only; you cannot roll back to a prior owner from the Version History window. To change again, perform a new transfer.
Samples tab
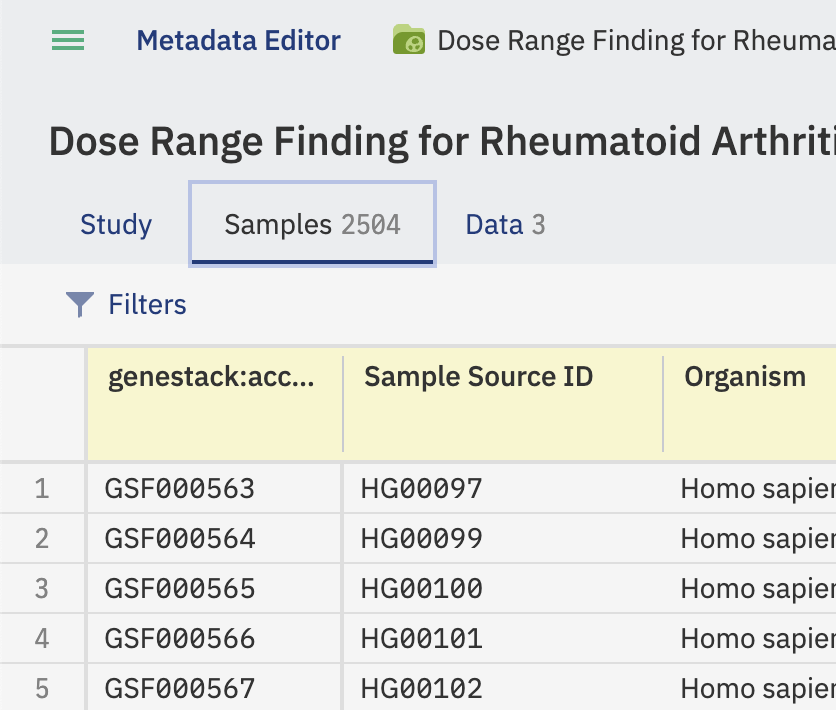
Sample tab represents metadata describing each sample in the study. For example, here can be provided information about organism, cell line, disease. Metadata columns coming from the applied template are highlighted in yellow.
Add and delete samples
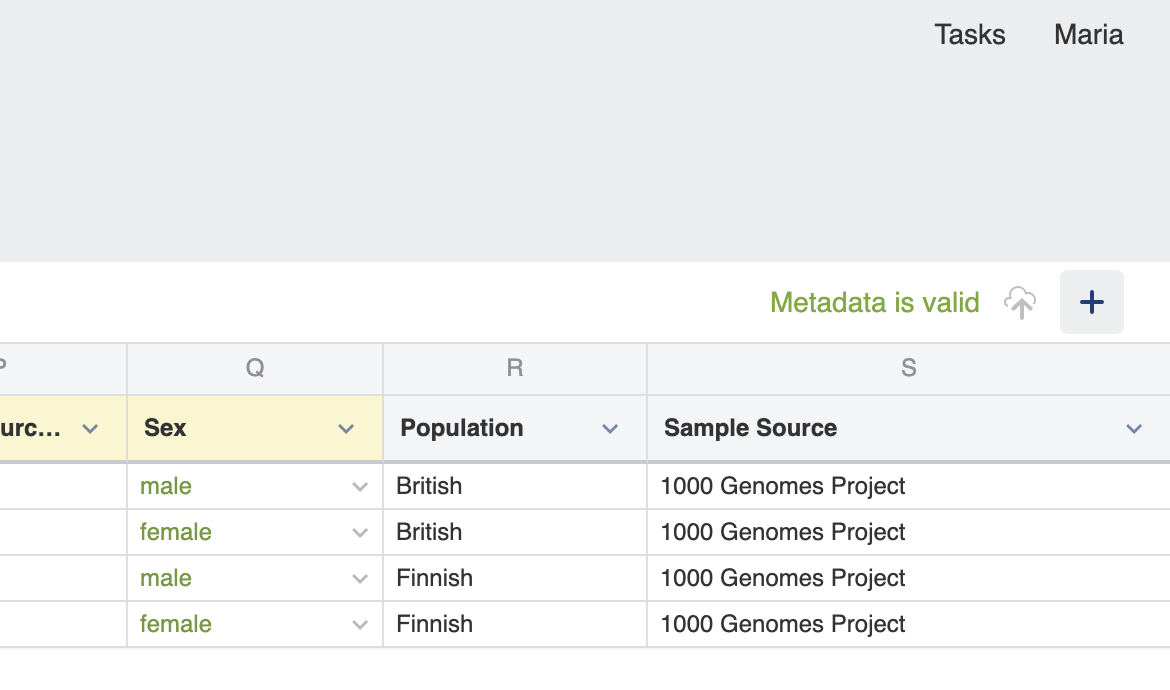
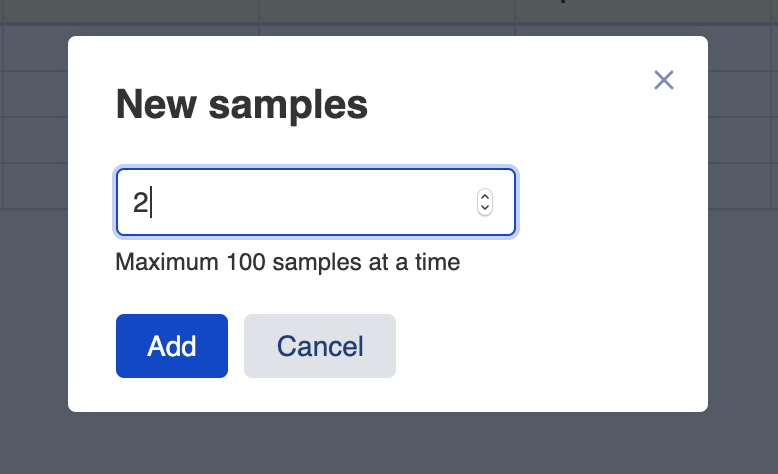
When you create a new study, by default it contains four samples. You can add more samples or delete samples if necessary. To add them, click on the “+” button, then in the appeared window specify number of samples you would like to add to the study and click “Add”.
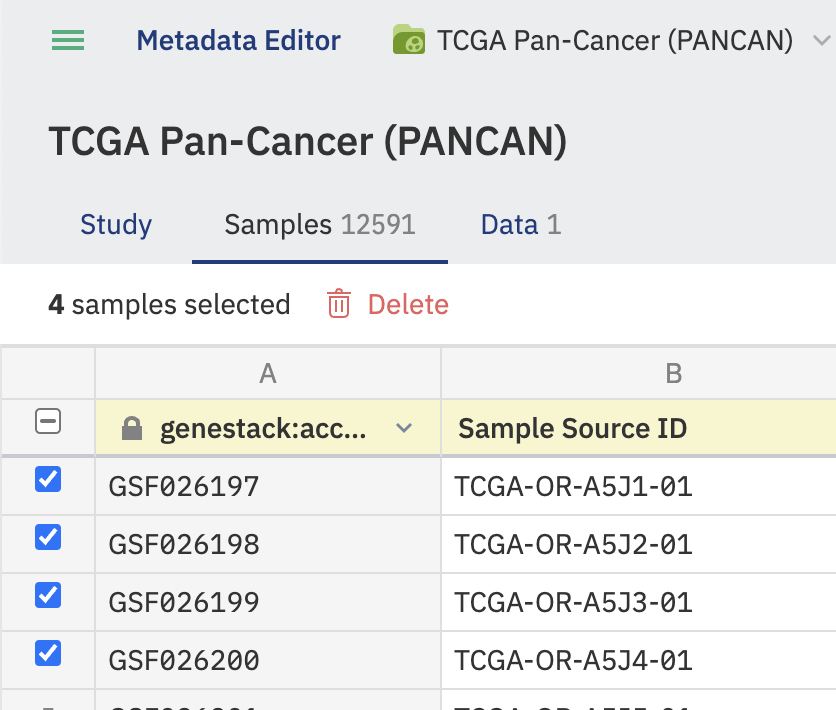
To remove samples from your study, hover over samples you would like to exclude, select them, and click on the “Delete” button.
Filter samples by metadata
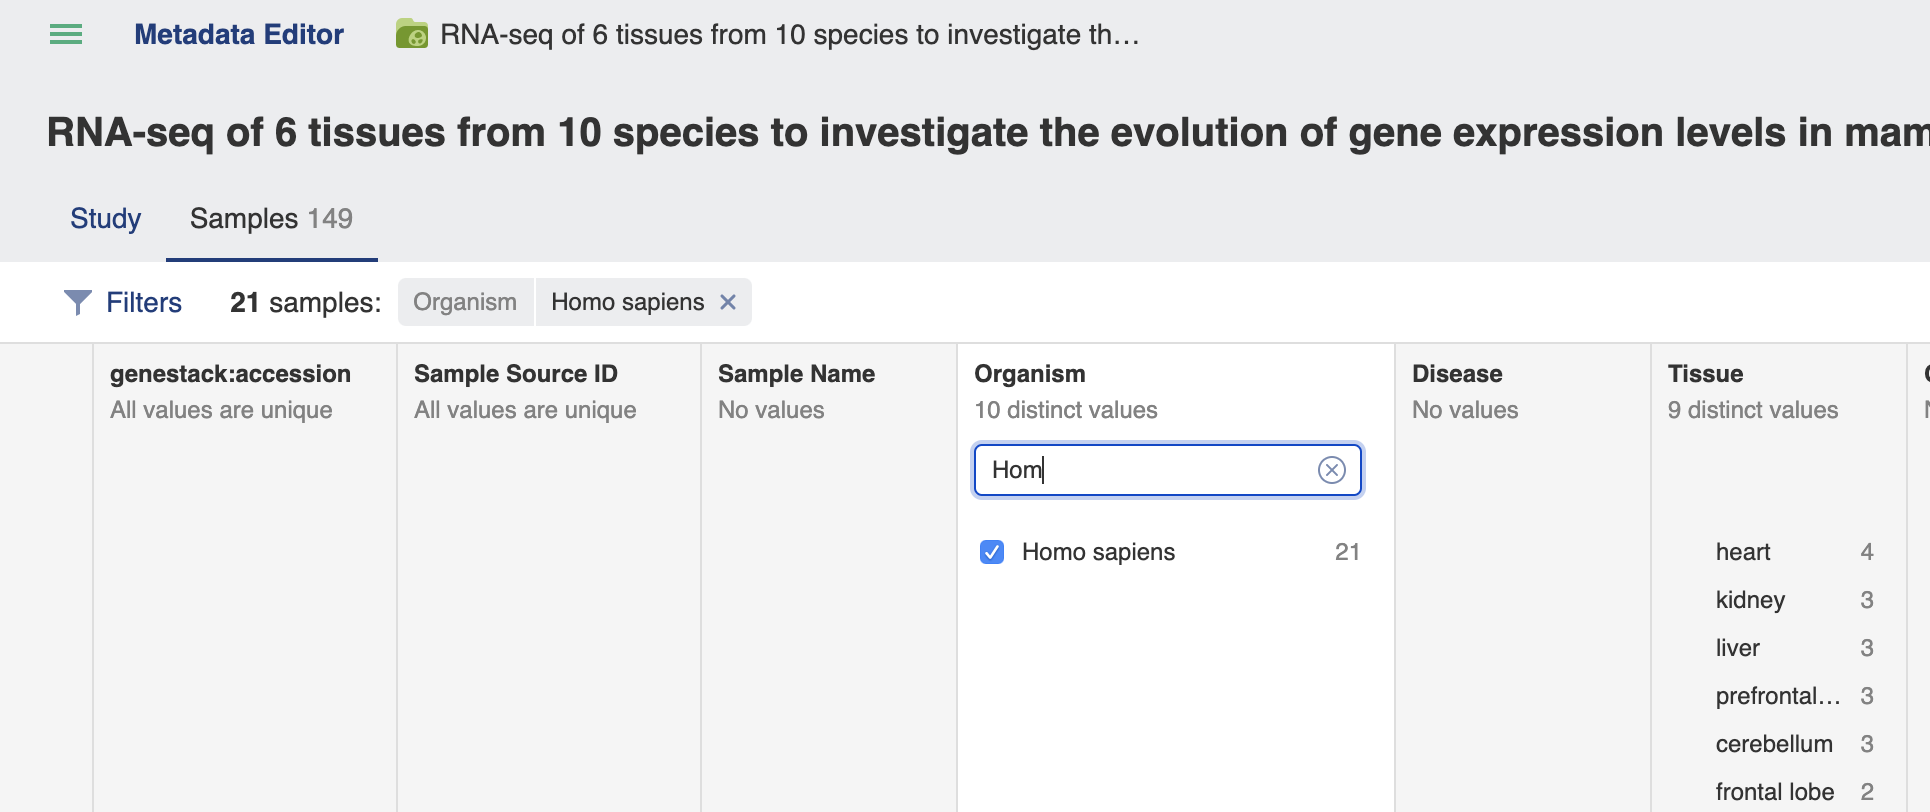
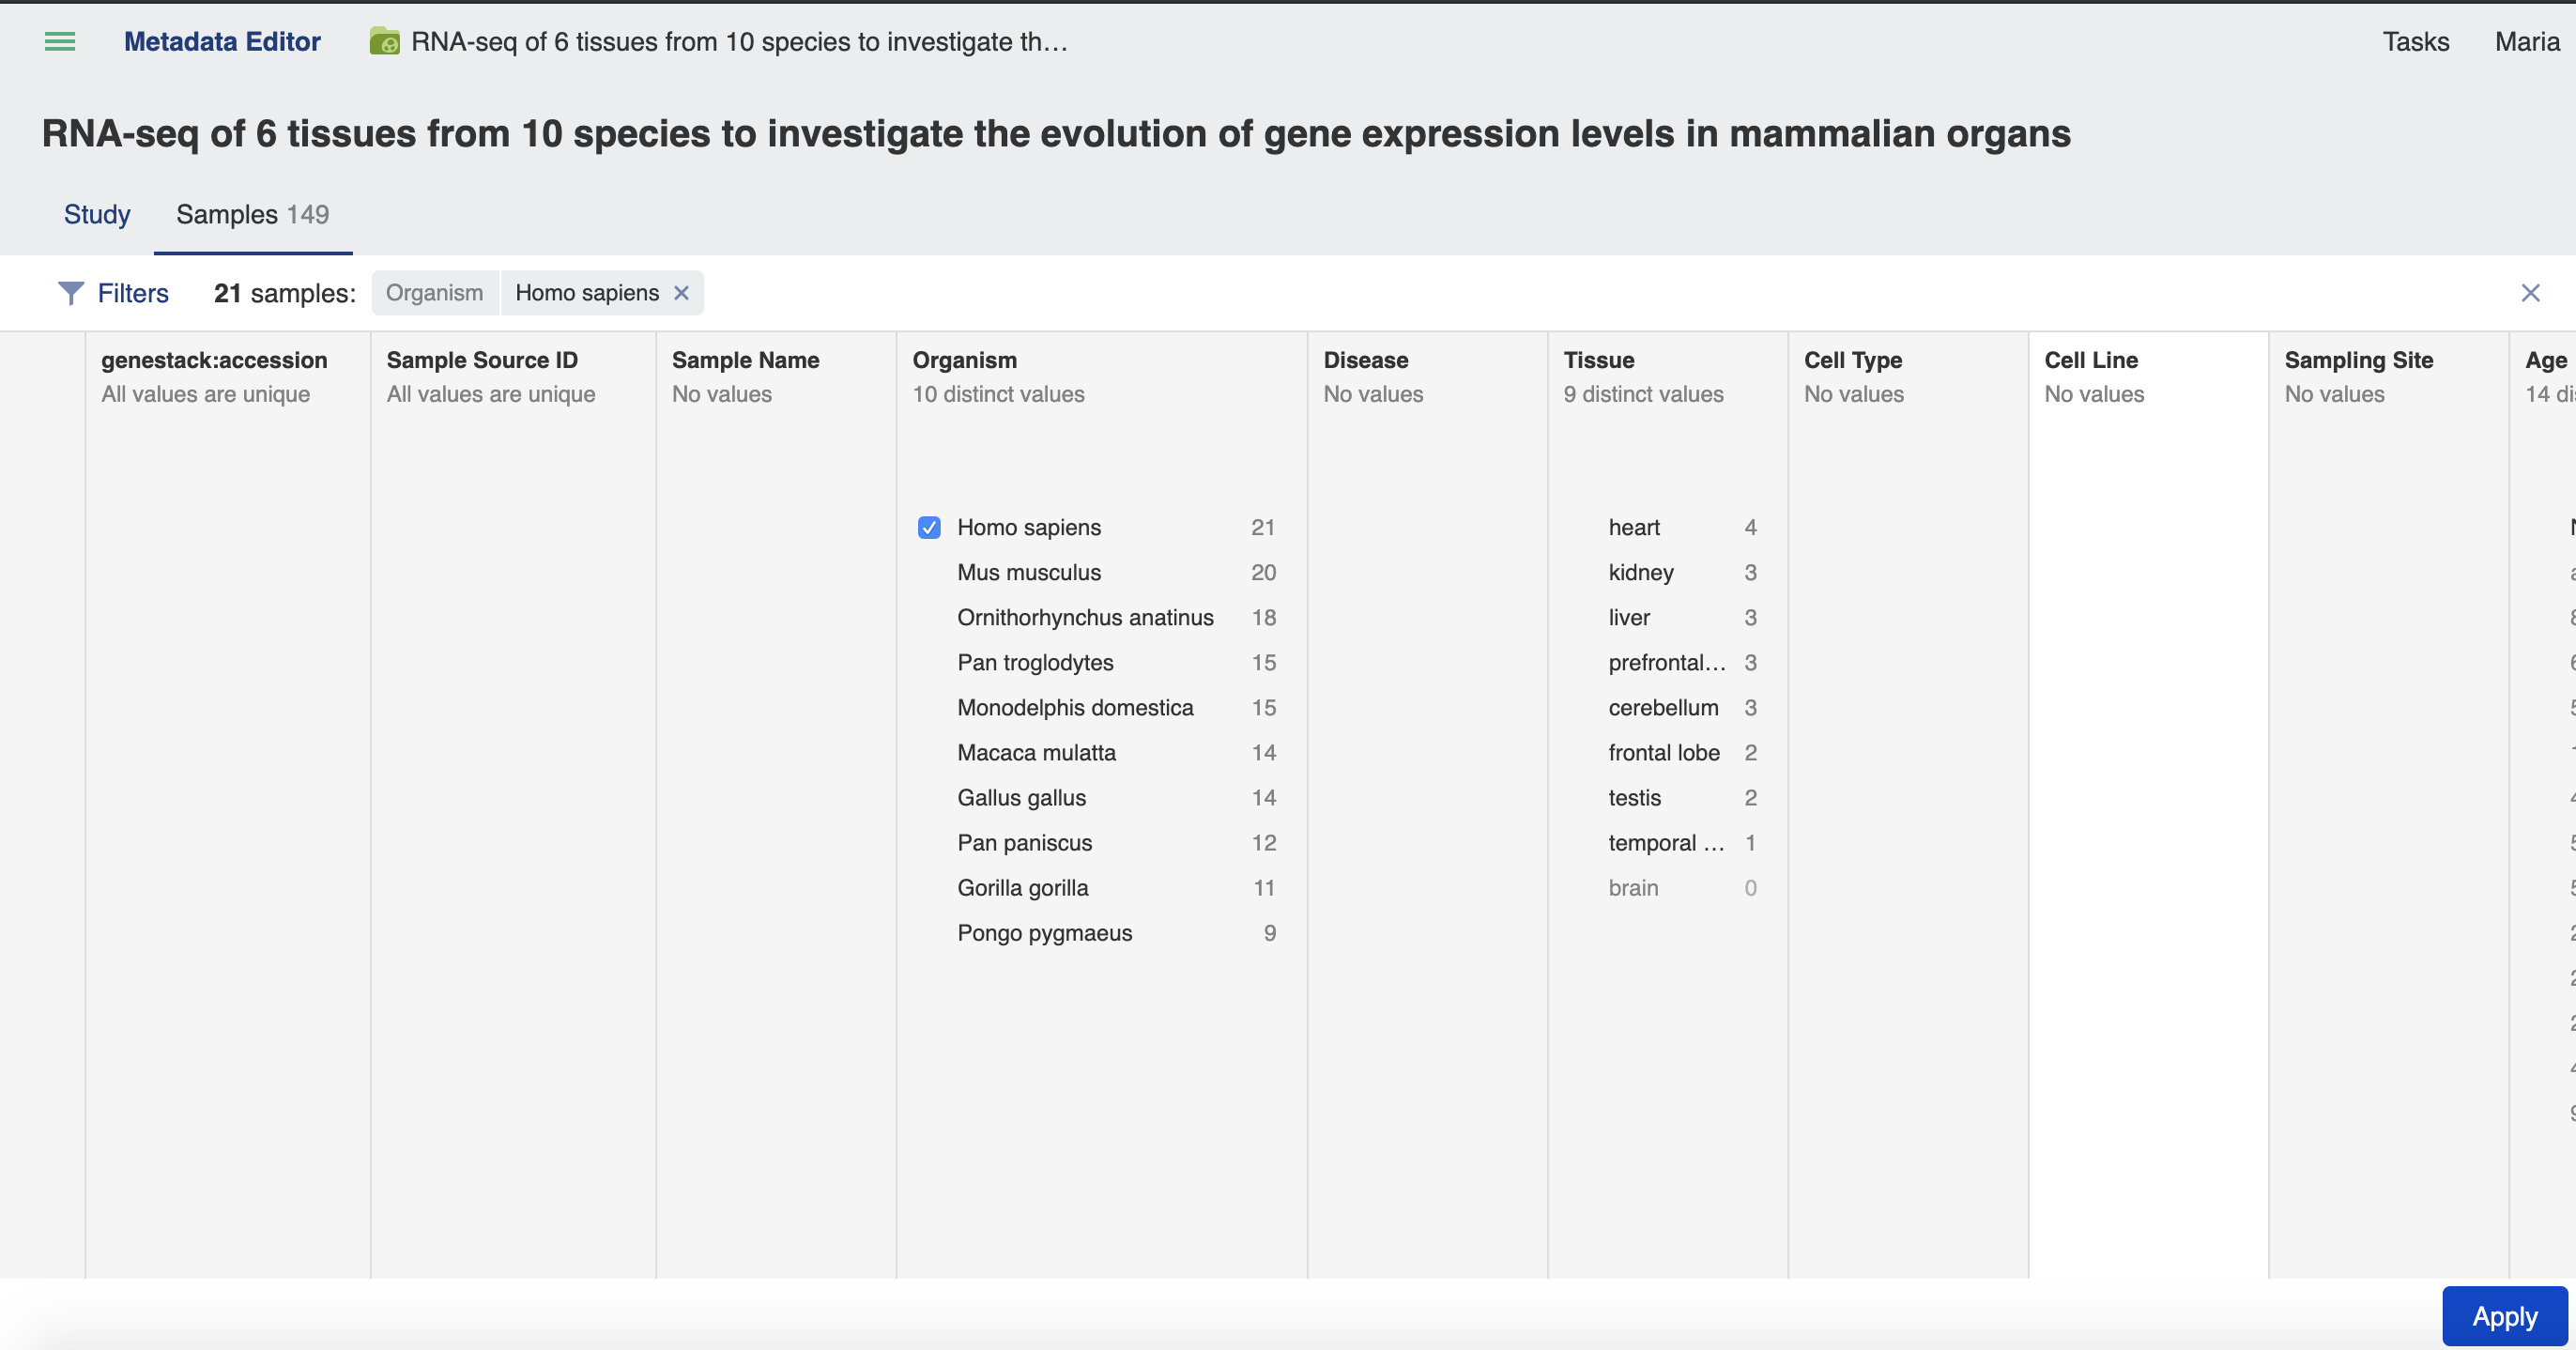
If you need to narrow the list of samples shown in the study (for example, filter by organism to get only samples obtained from H. sapiens). To do so, click on the “Filters” button in the upper-left corner. This will show a metadata summary, where for each metadata field the list of values and the number of samples with this values are specified.
You can also start typing metadata value of your interest (“H. sapiens” in this case) to show only needed checkbox in the list of suggested meatadata values.
Then, click on the “Apply” button.
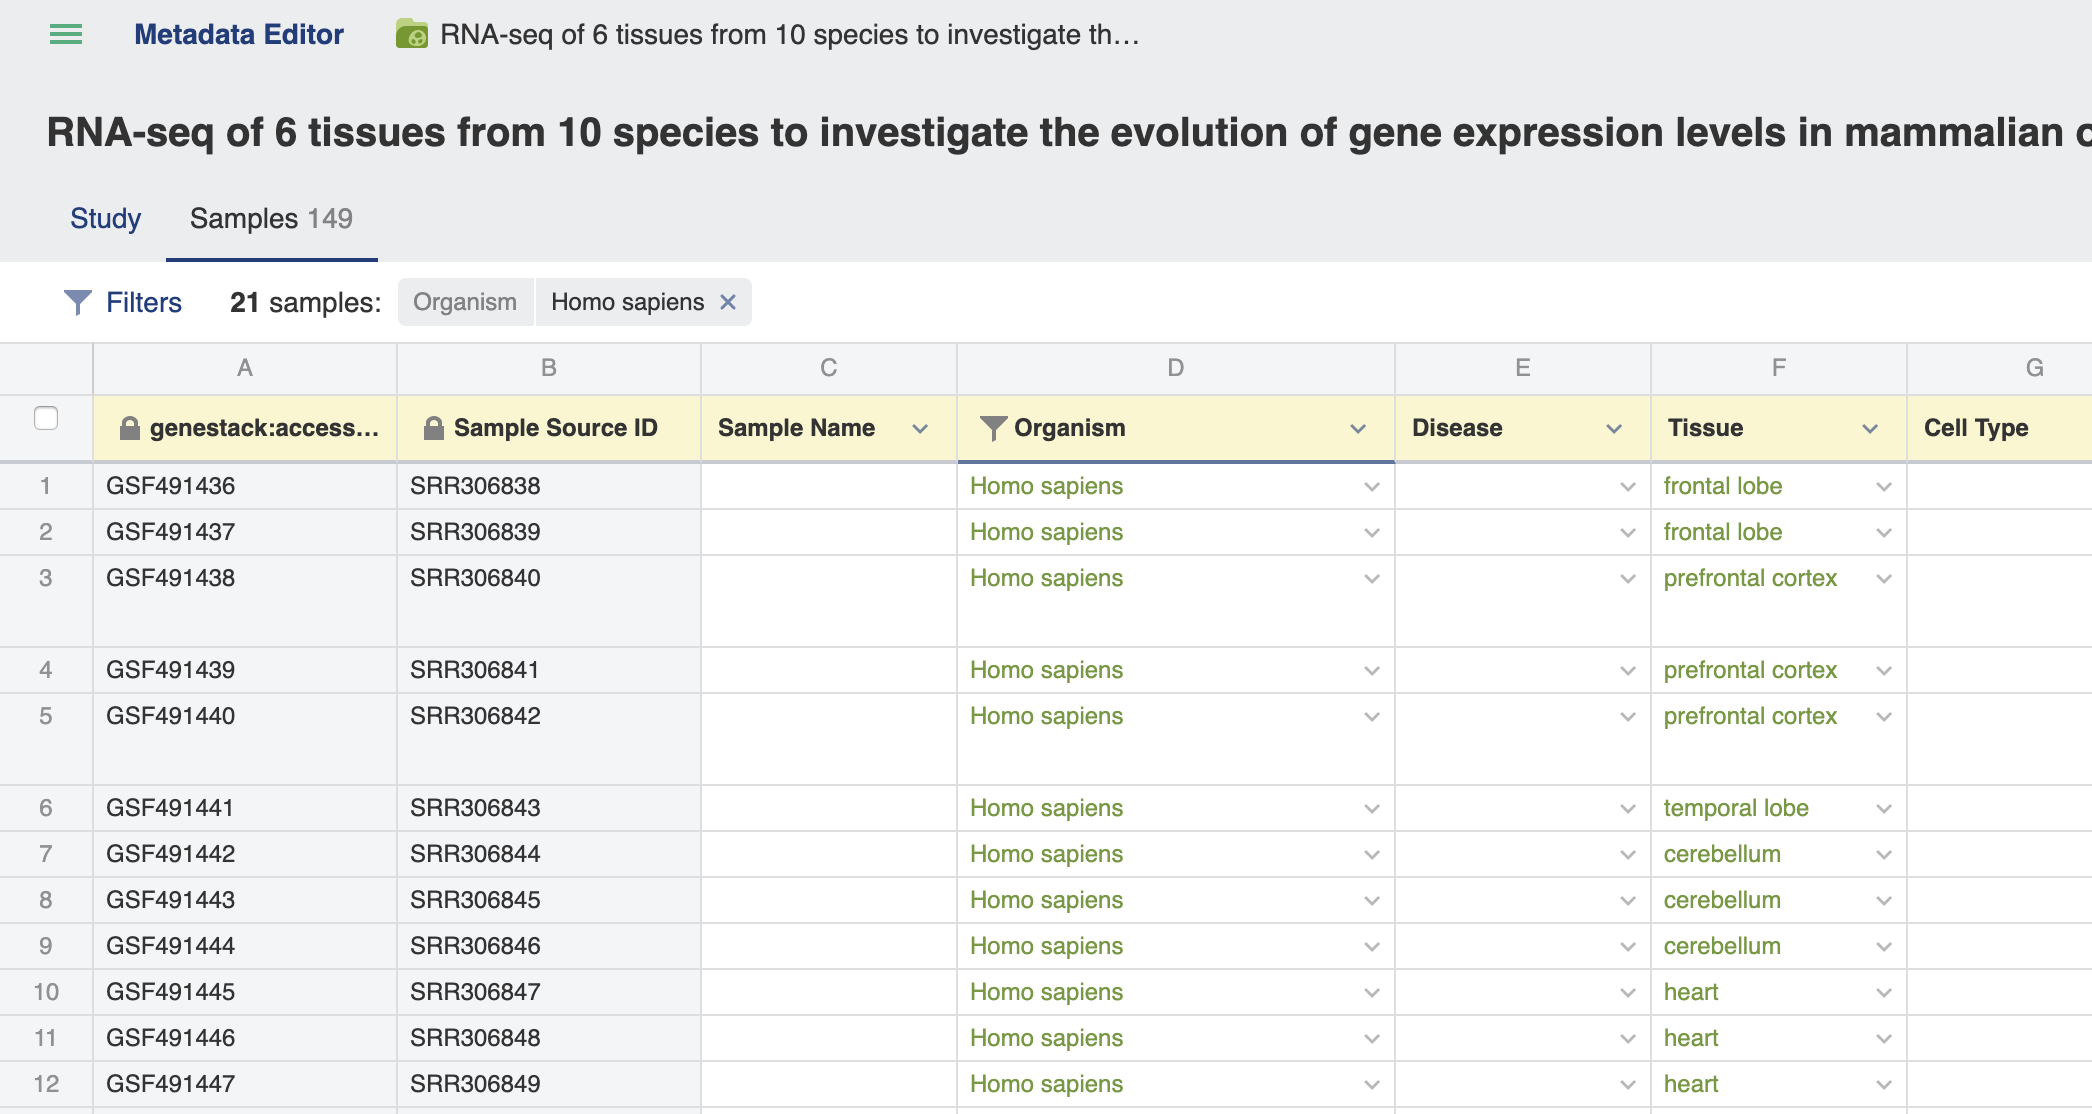
As a result only samples obtained from H. sapiens are shown in the Samples tab.
Data tab
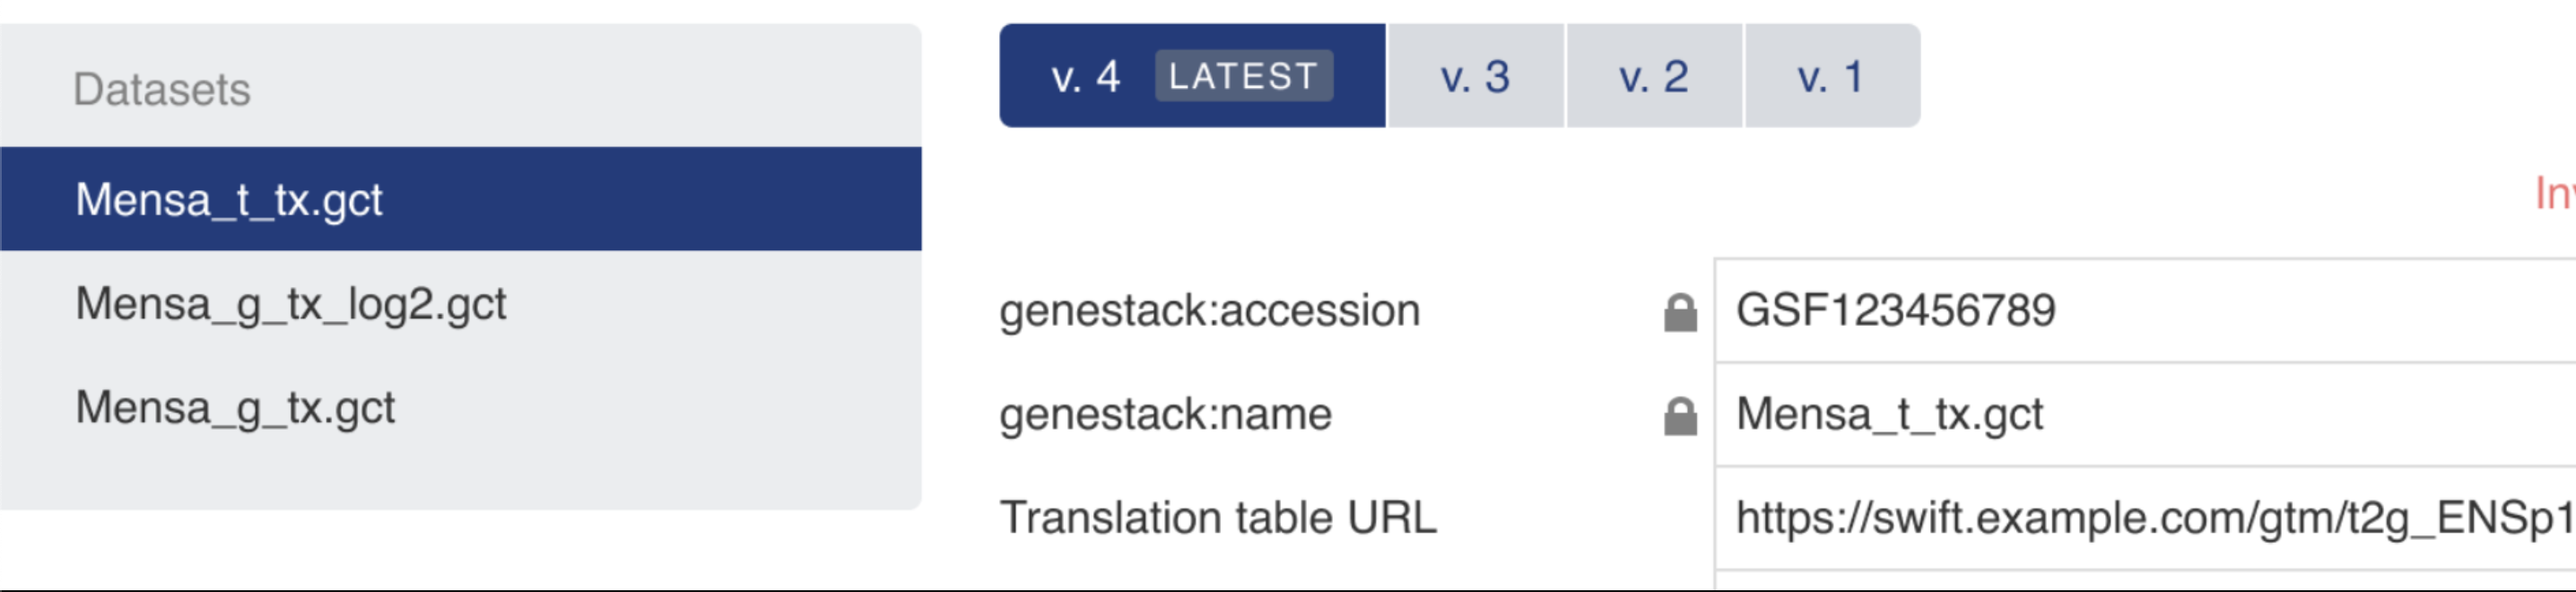
The remaining tab in the Metadata Editor display metadata for the data files associated with a study. If more than one version of an omics file is available the different versions can be toggled.
Metadata validation and curation
Curators can not only view but also validate and edit metadata.
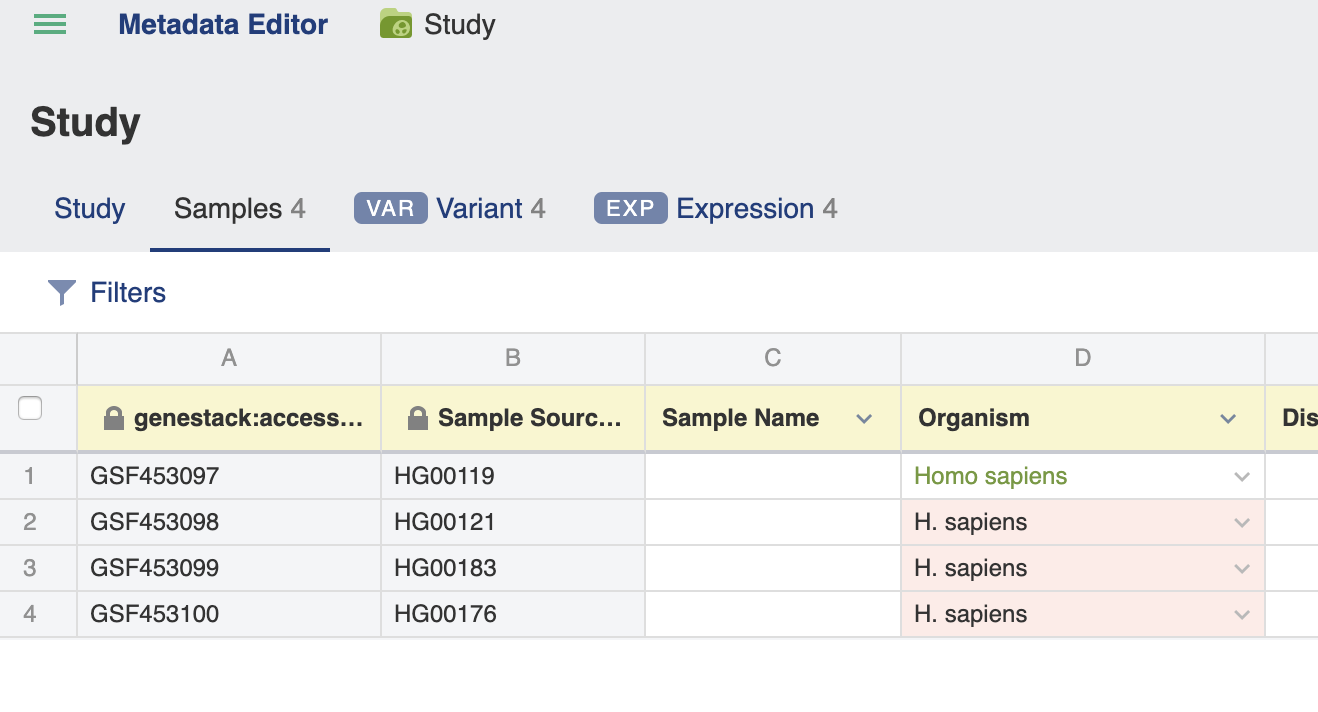
Metadata fields are checked against a specific template, each template contains specific list of metadata fields and rules for the Study, Samples and processed/experimental metadata tabs. If some required metadata fields are missing, have typos or entered values don’t match the applied template, an Invalid metadata flag is shown in the upper right corner. Also, invalid fields themselves are highlighted in red.
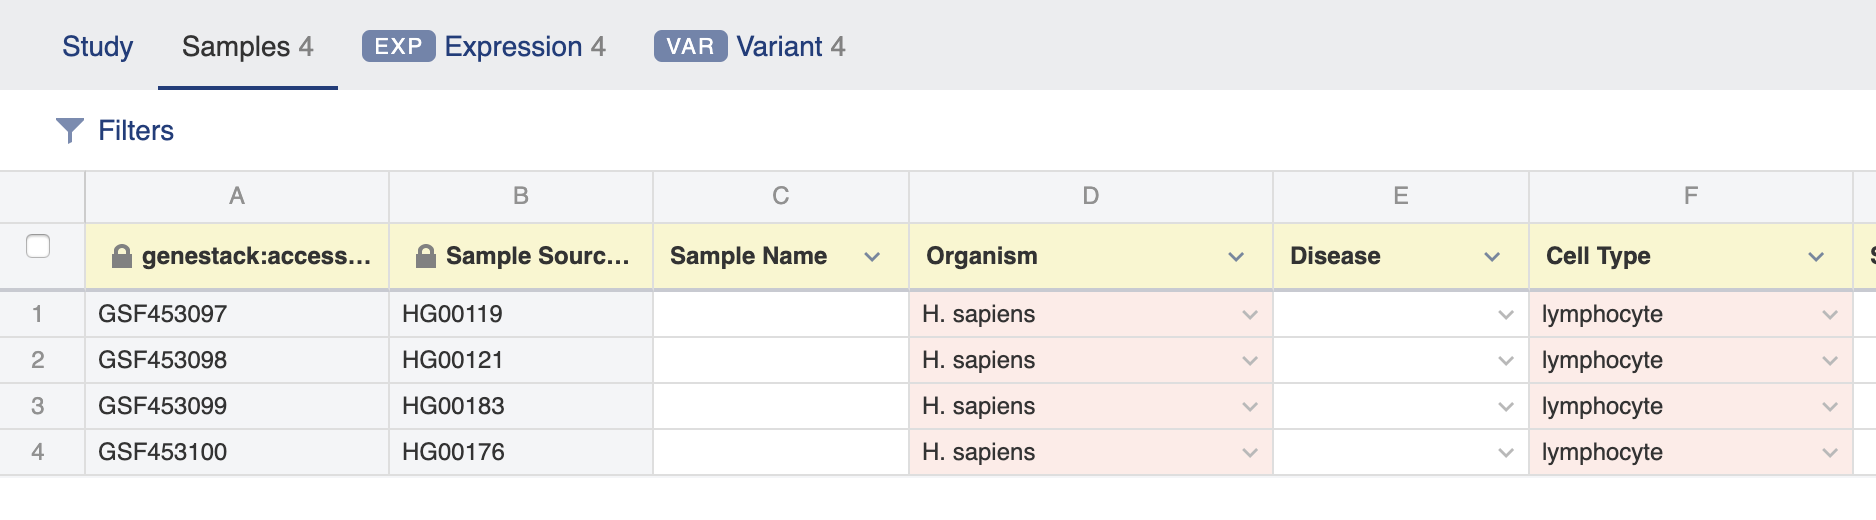
To correct metadata manually, click the field you wish to change and type a new value.
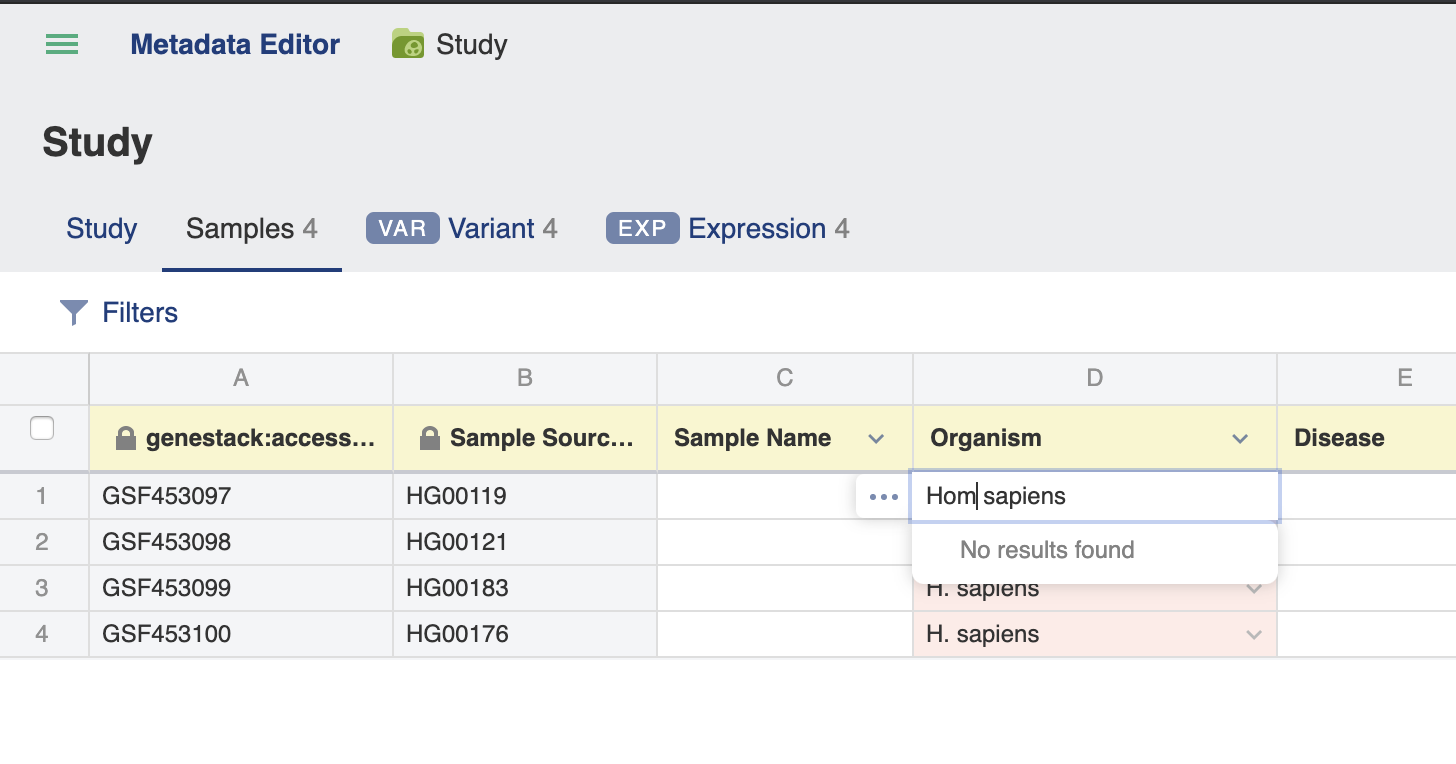
When all the fields in a tab have been corrected the Invalid metadata flag will be replaced with a green Metadata is valid flag. Metadata fields for which dictionaries or ontologies are specified in the template allow you to click the arrow and select a term from a list of suggested terms from the associated dictionary. You can also start typing a term and auto-complete will help you to select an appropriate term from the dictionary.
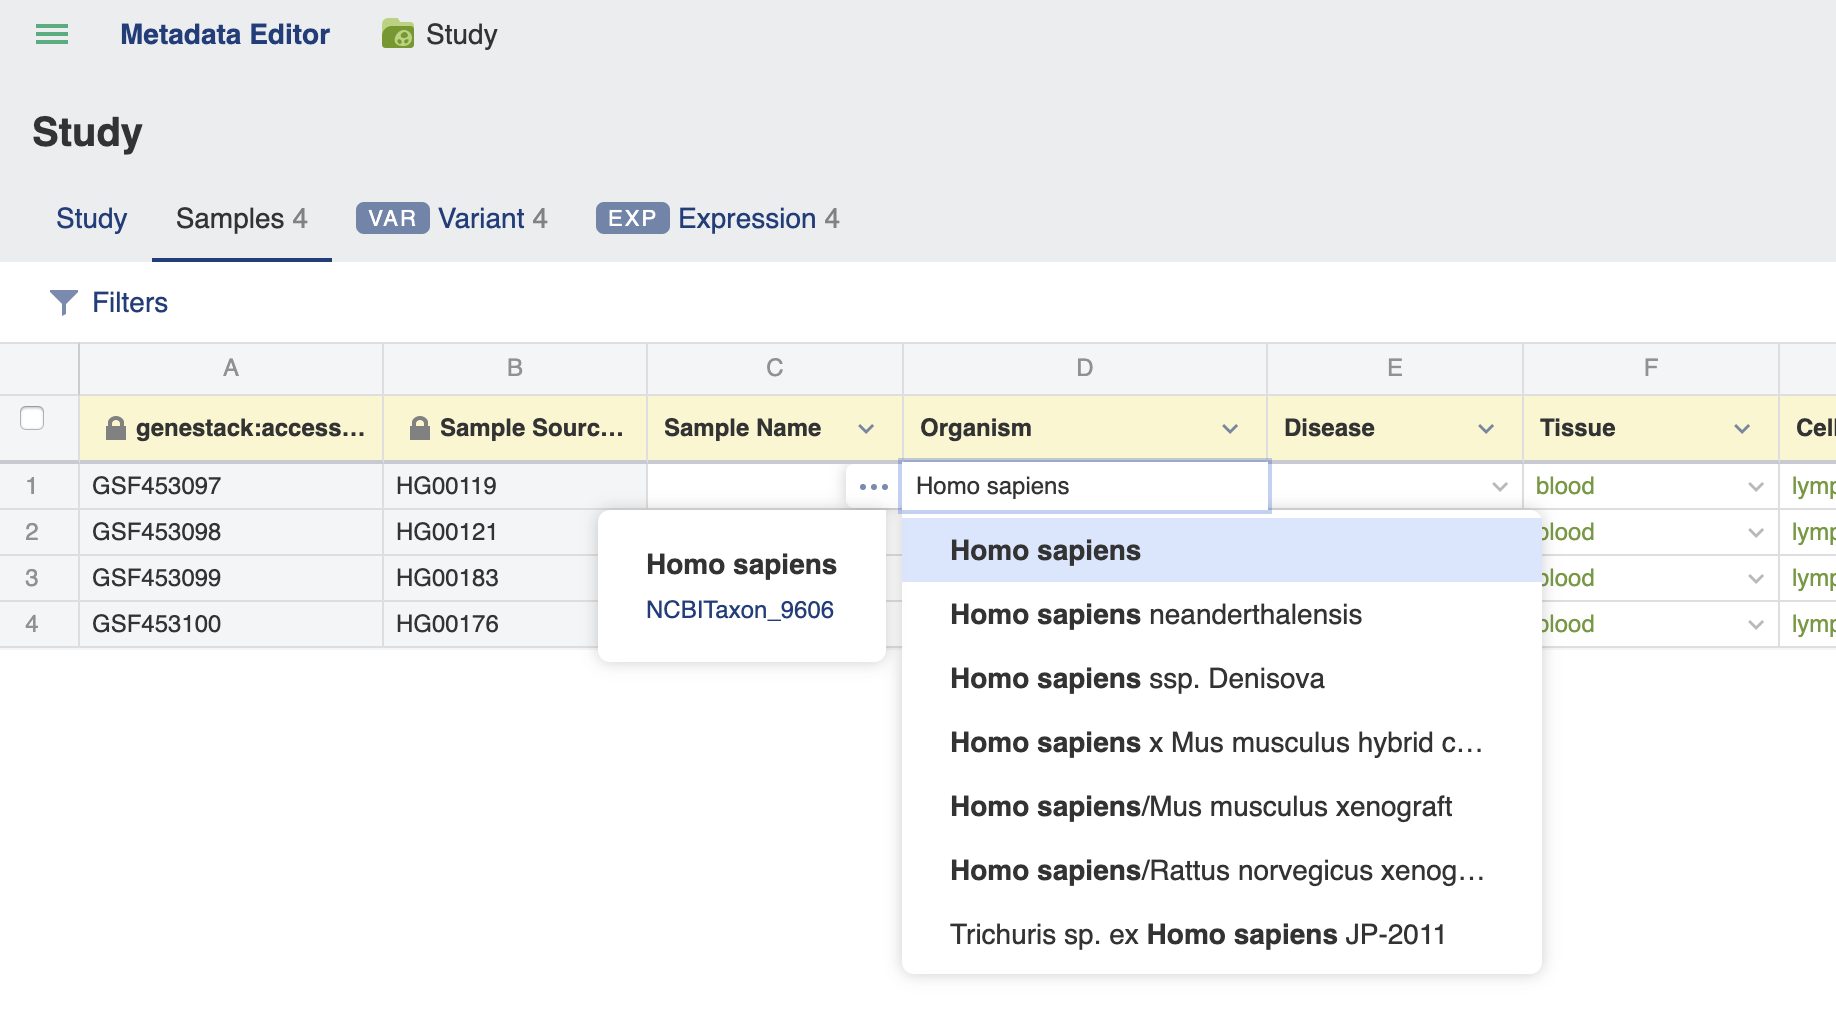
Values matching dictionary terms will be marked in green.
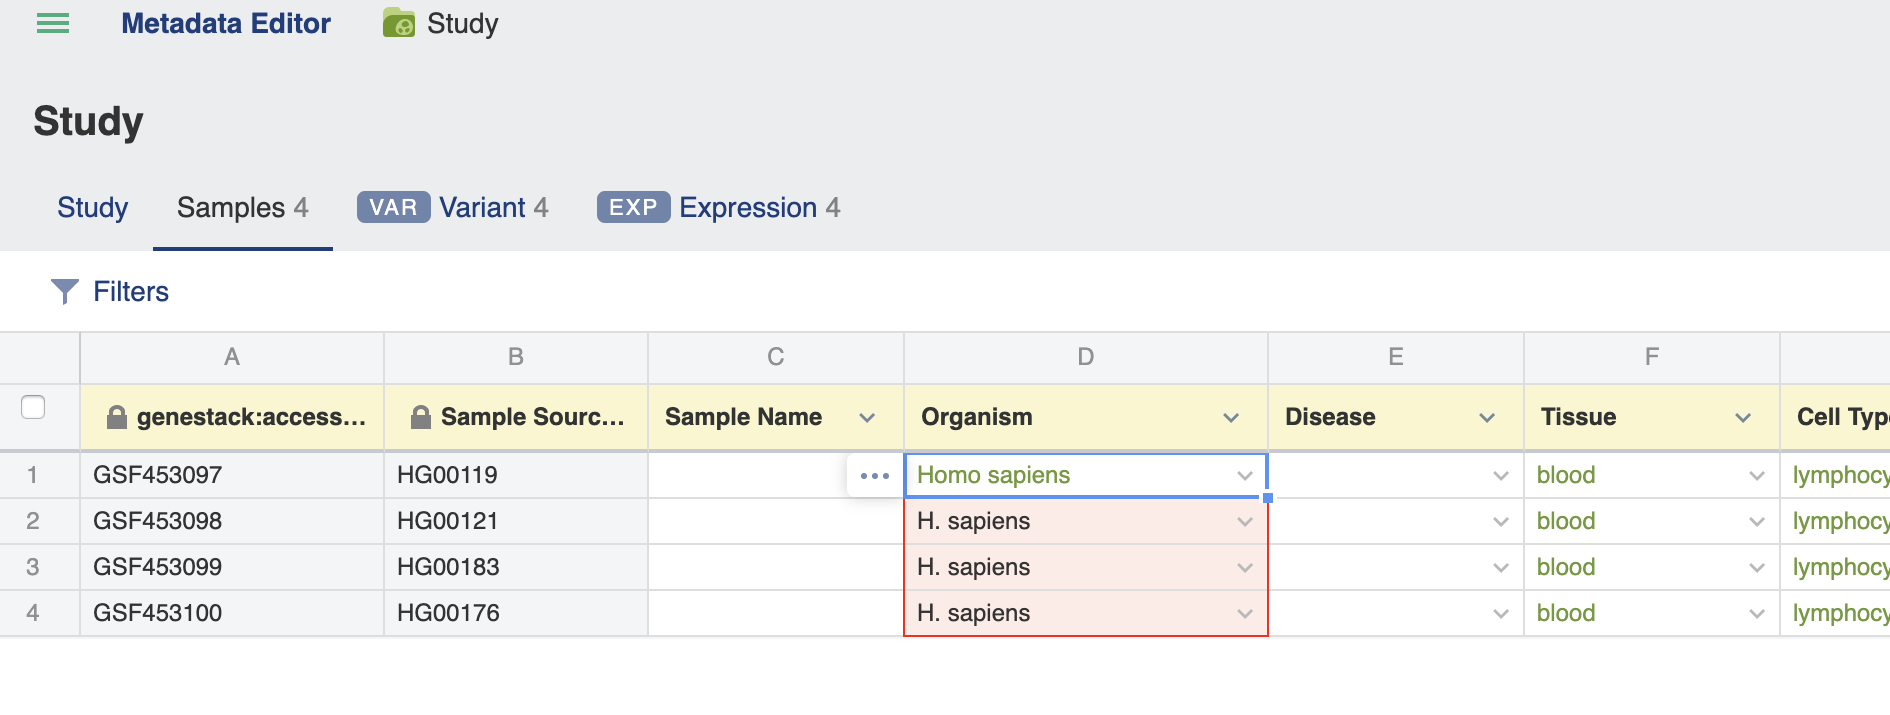
Values in the metadata columns can be propagated by dragging the bottom-right corner of a cell.
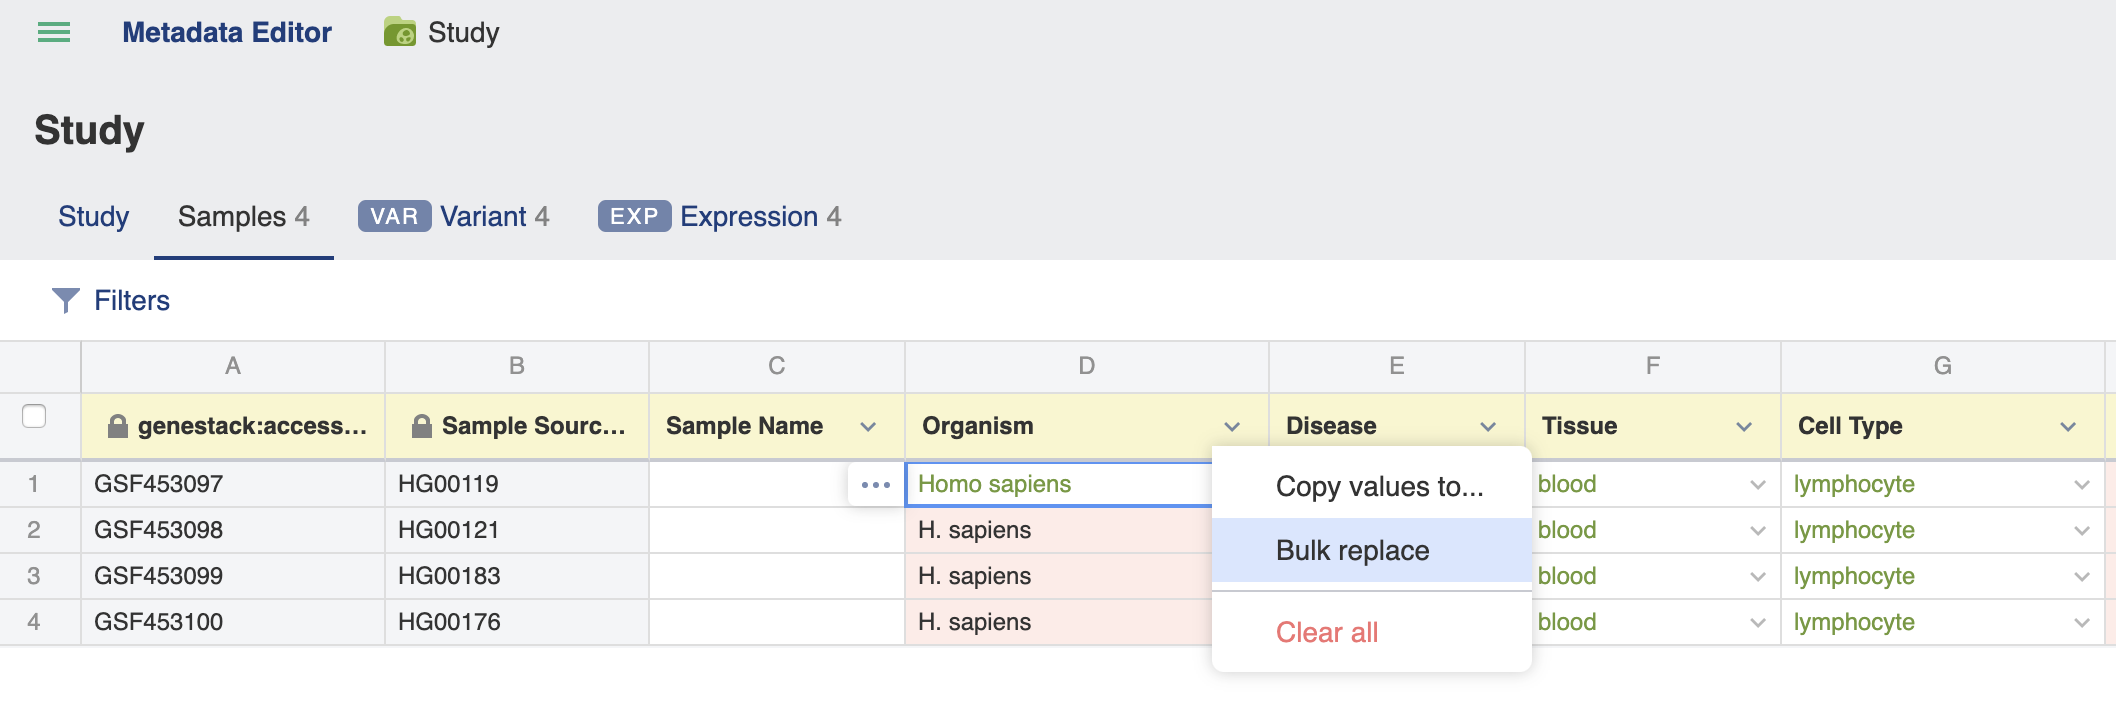
To replace multiple values you can use bulk replace function. To do so, you should click the name a metadata field including incorrect values and select “Bulk replace” option in the drop-down list.
This will open Replace values window where you can specify correct values.
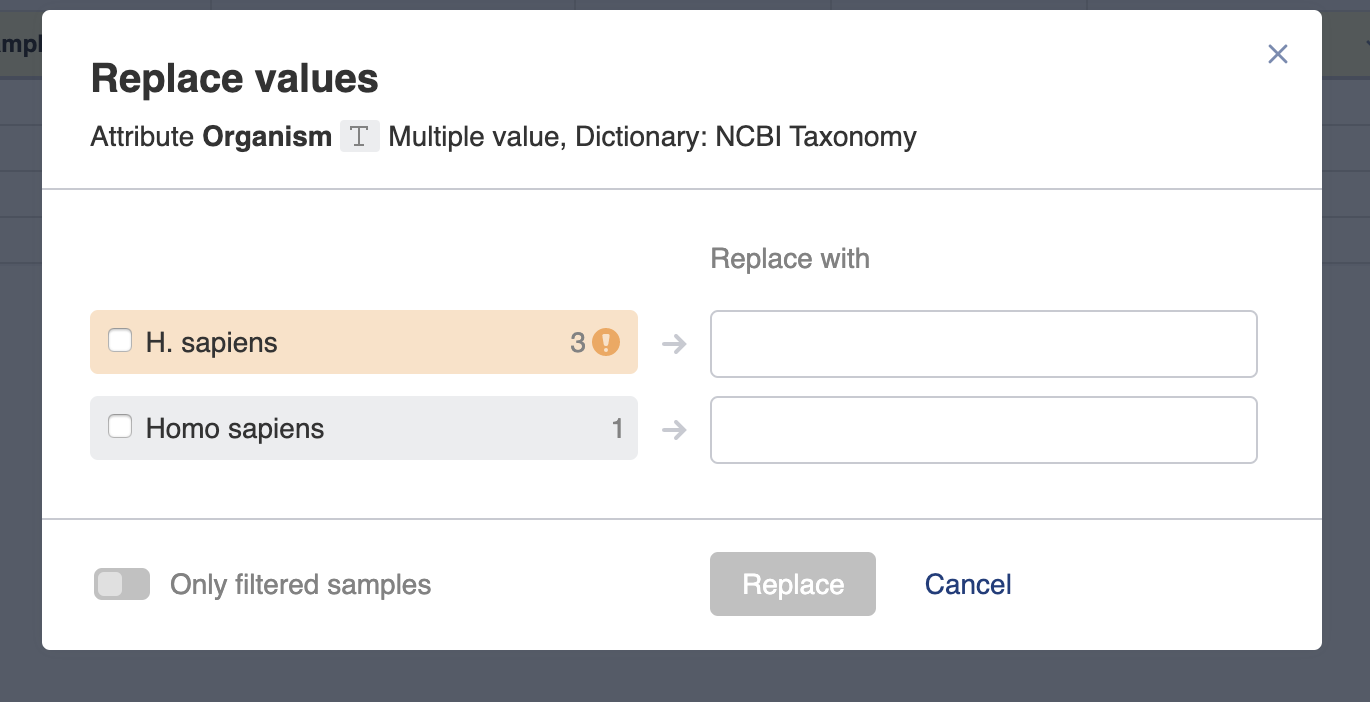
If the field is controlled by a dictionary then auto-complete suggestions will also appear so that you can select a term from a dictionary. Click Replace in… button to replace the incorrect metadata values with the new terms.
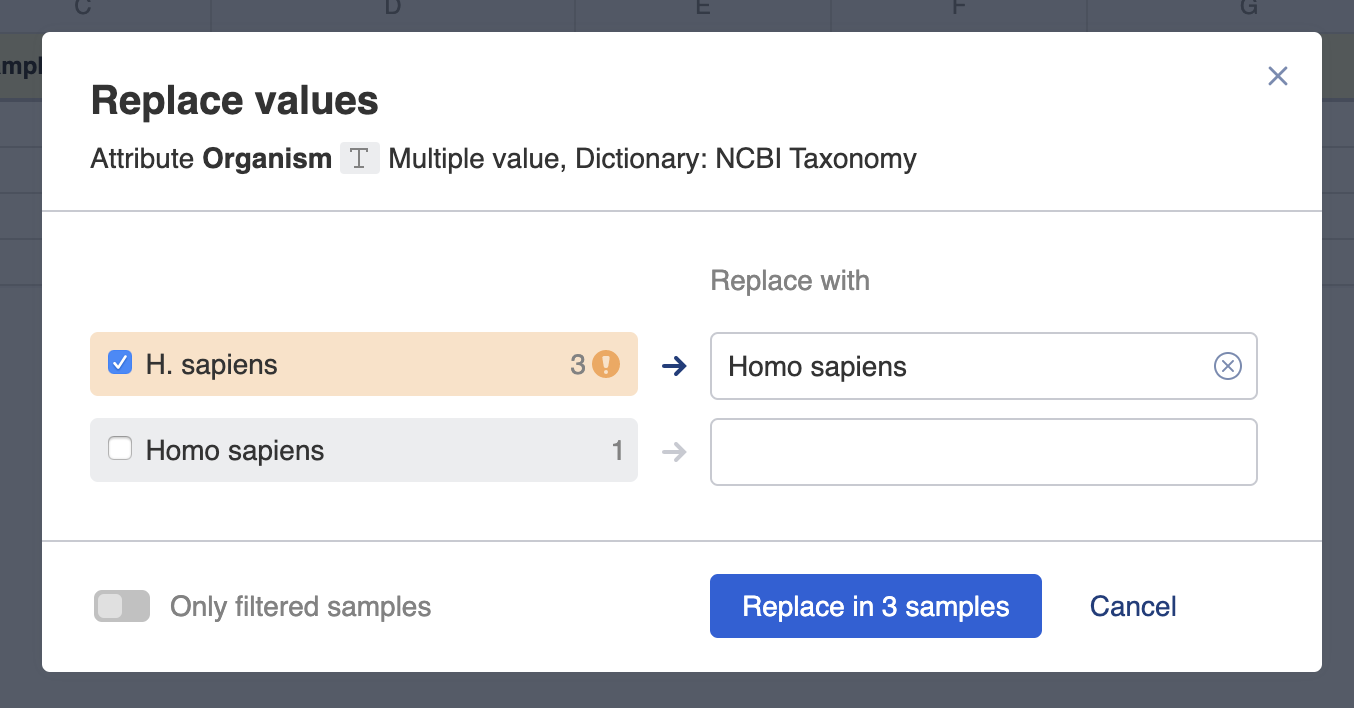
If there are any filters applied, you can choose to replace values only for the samples that match your filter. As a result, values for only the filtered samples will be changed.
Clicking on the Invalid metadata link opens the Validation Summary pop-up window where the invalid metadata terms will be shown. Click on a term you would like to update, immediately, Replace values window will open, allowing you to type in the correct value.
There are special terms “Not applicable” and “Not recorded” that can be entered if you wish the value to always pass validation.
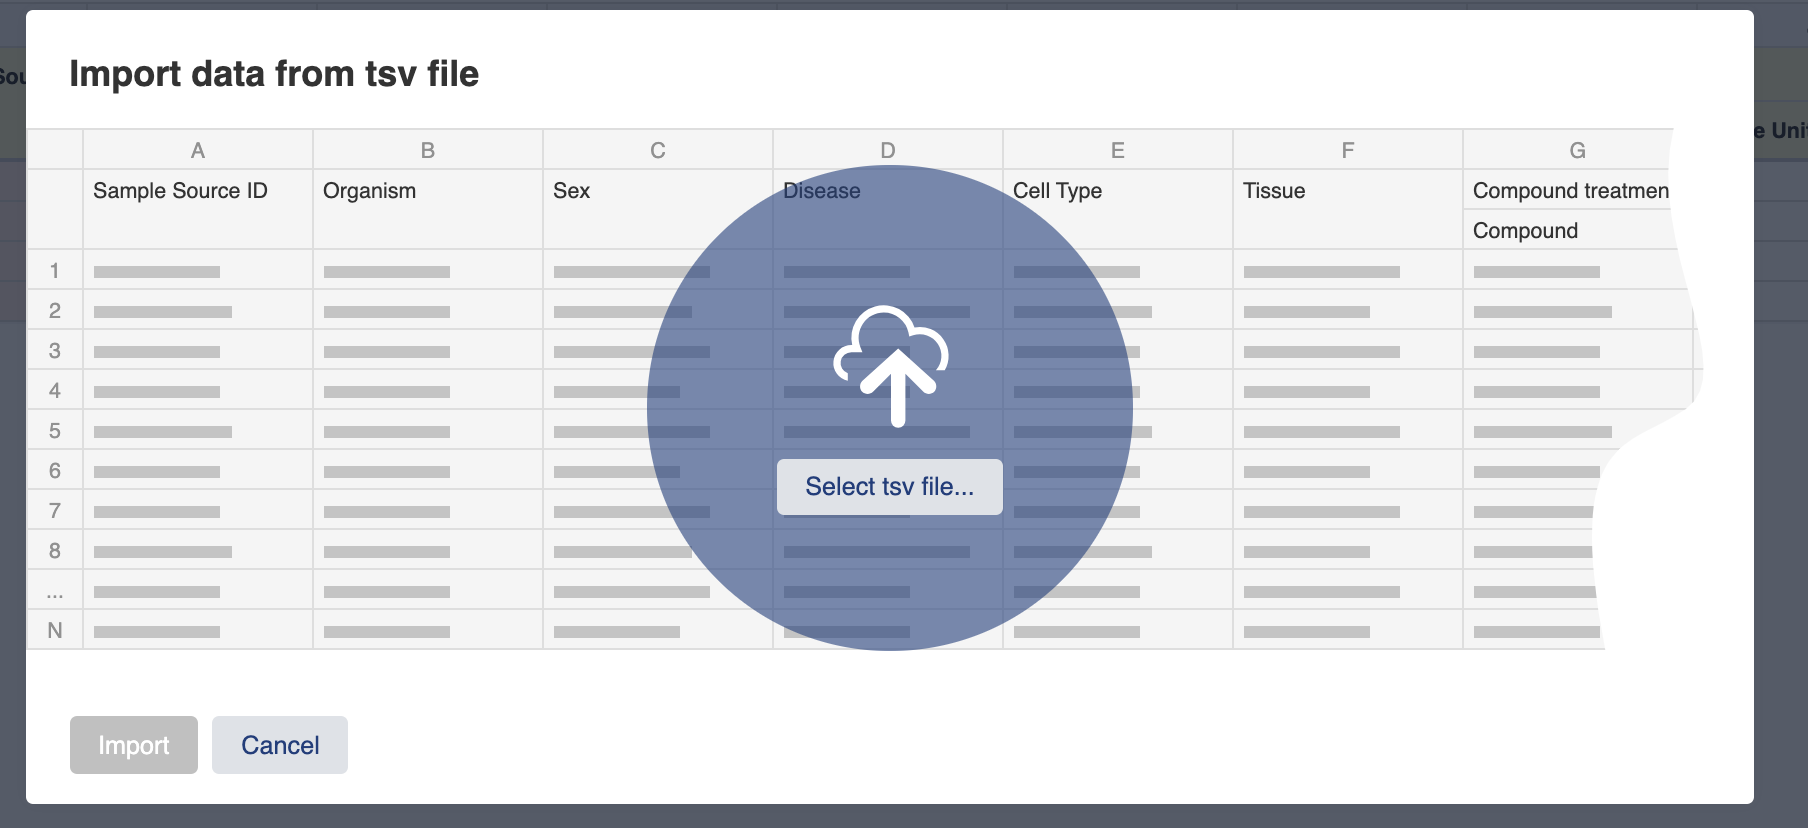
As well as editing metadata manually you can also import and validate the metadata. Click on the “Import” icon in the upper-right corner and select a local TSV file containing metadata you would like to associate with the imported files.